Proofing And Review
Proofing is the working room for final decisions. This is where clients review the gallery, mark favorites, add precise feedback, and follow the studio's advanced review process when it is enabled.
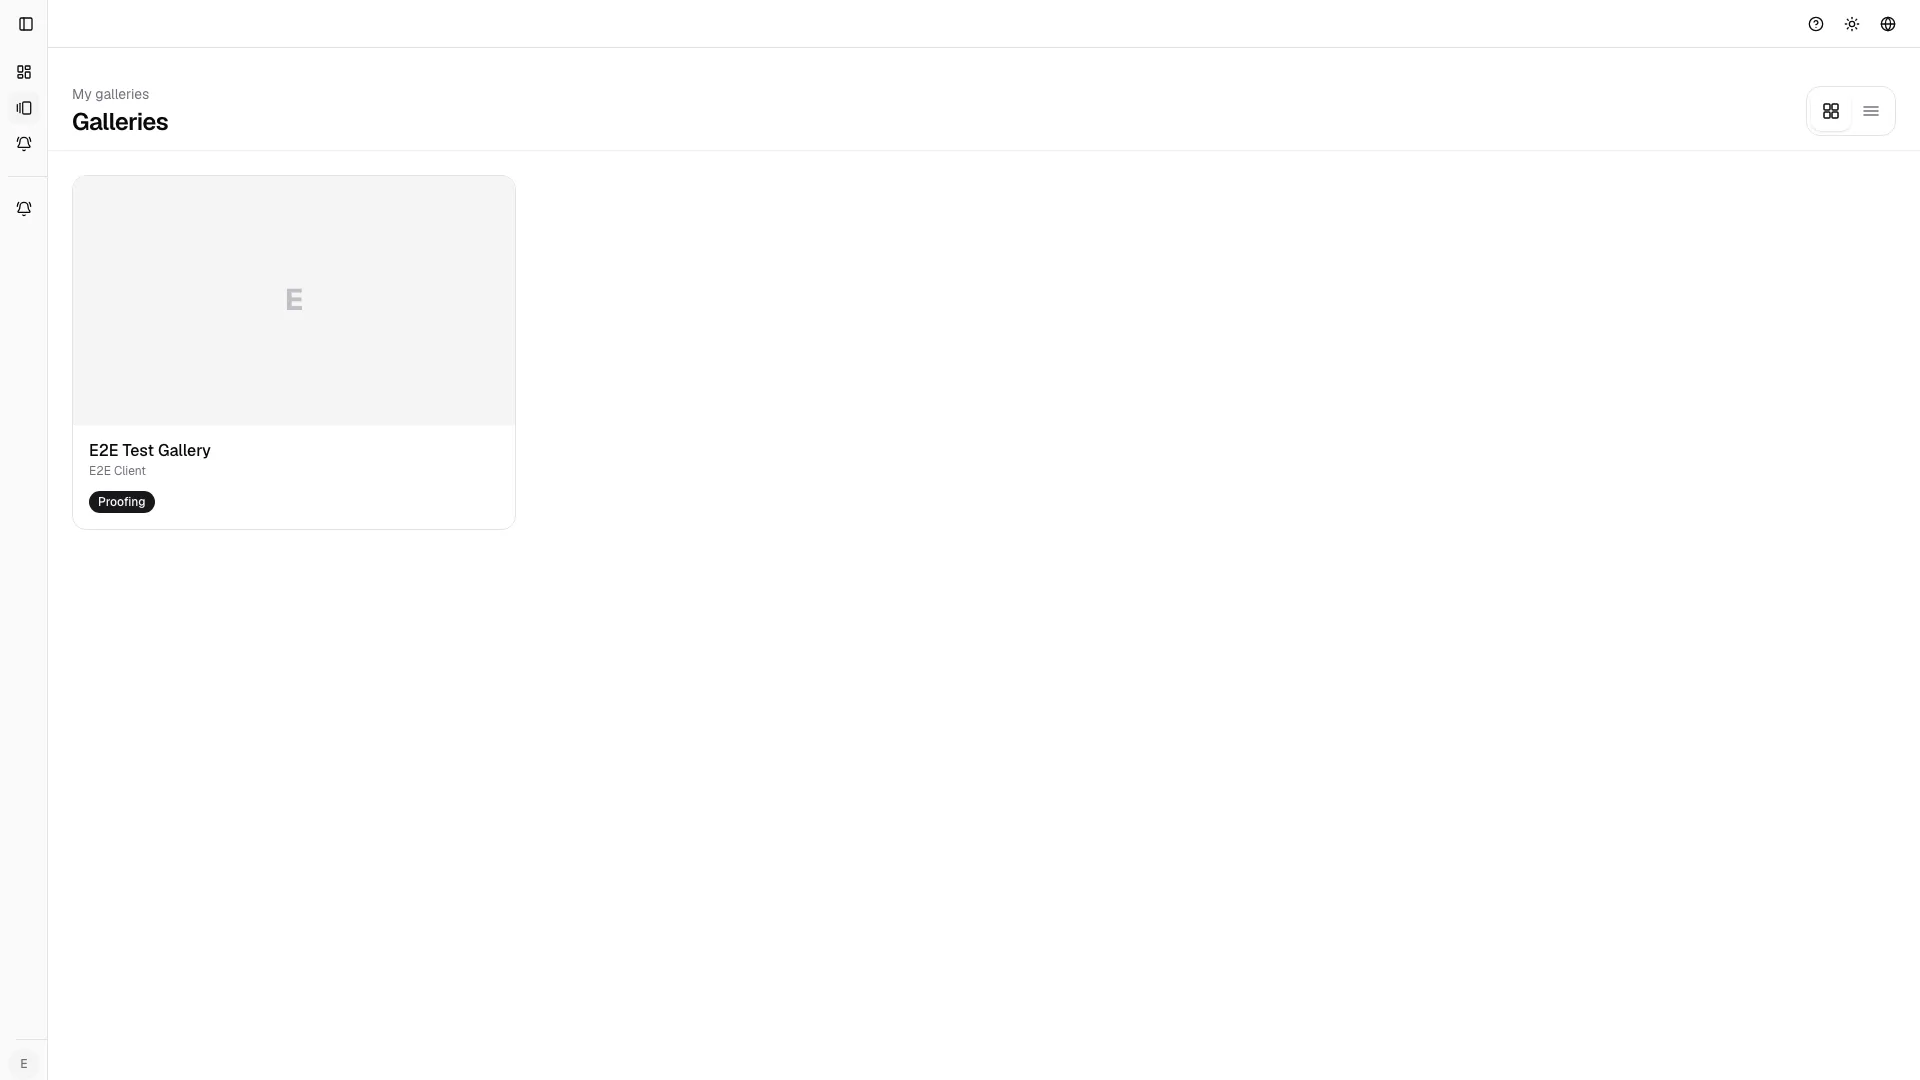
Open the gallery
Section titled “Open the gallery”Open the shared galleries area and choose the gallery you were invited to. Each card or row can show:
- title;
- thumbnail;
- status;
- client or studio name;
- shoot date;
- deadline;
- the action that opens the gallery.
If a gallery you expected is missing, the invitation may not have been accepted, the gallery may still be disabled, or you may be signed in with the wrong account.
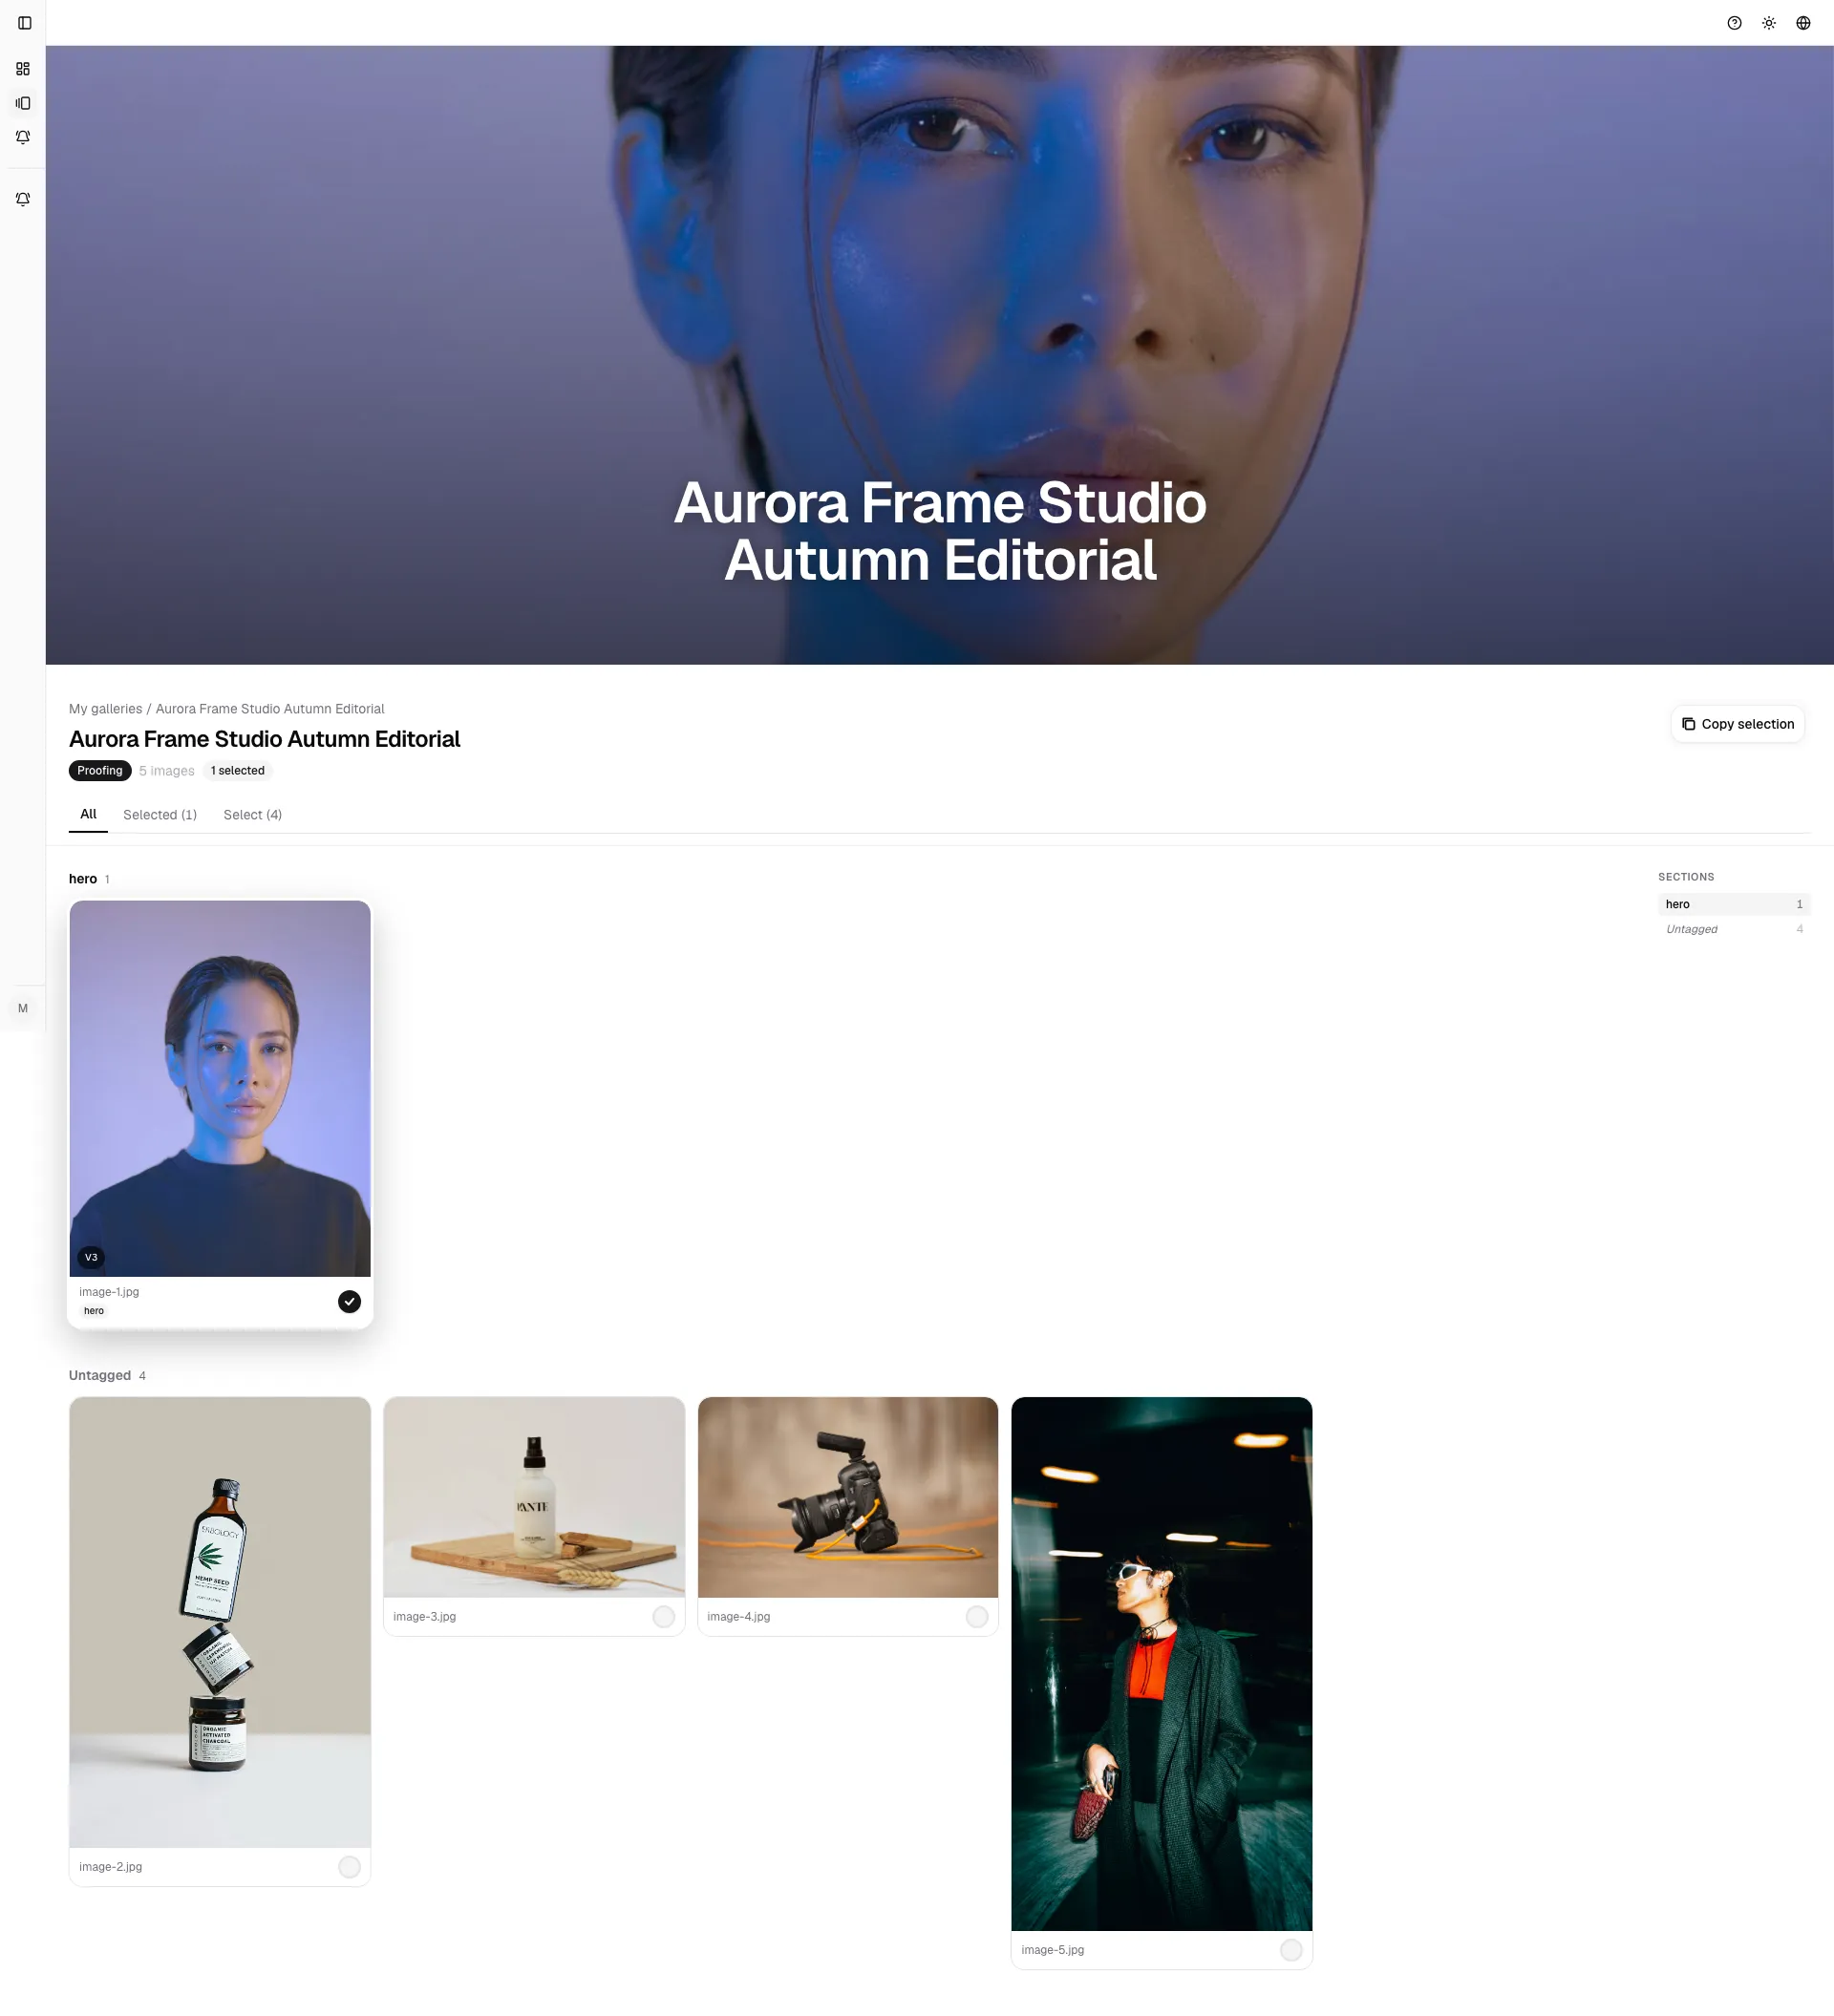
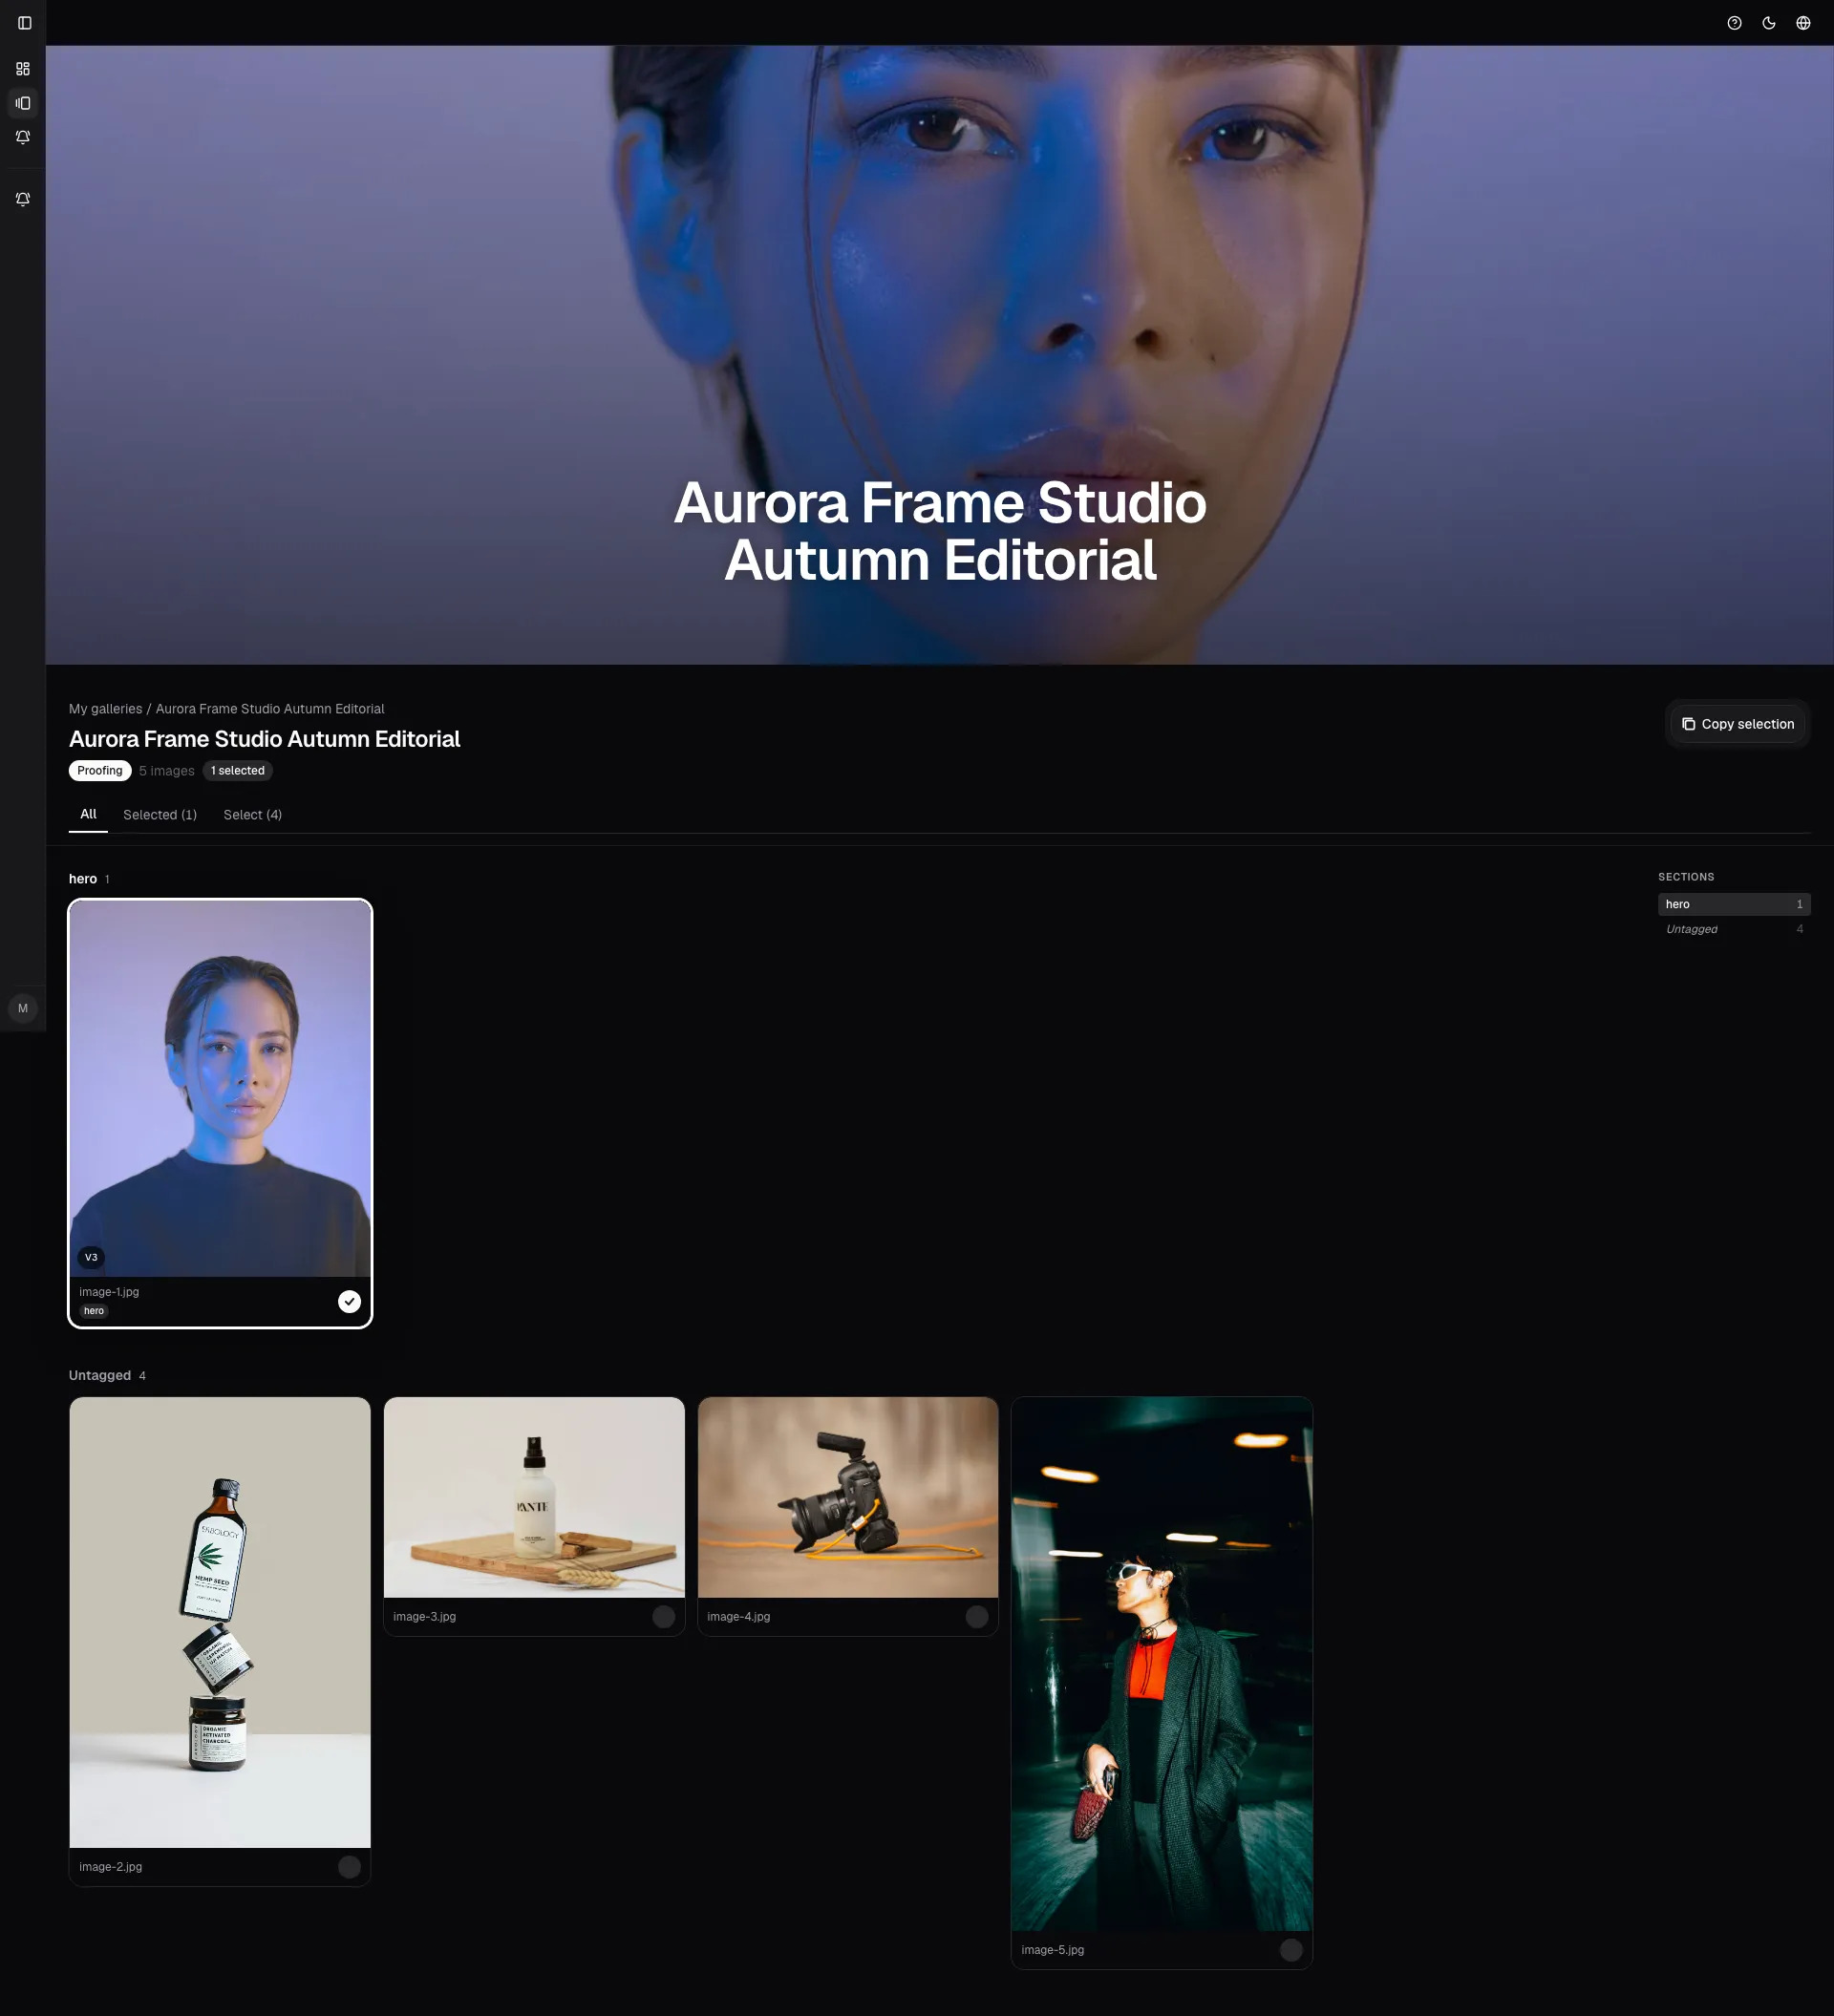
Move through images
Section titled “Move through images”Inside the gallery detail you can:
- scroll the grid;
- open any image in the lightbox;
- move to the previous or next image;
- read details or comments;
- use filters when the gallery offers advanced tools;
- return to the grid without losing context.
The lightbox is designed for quick decisions. Use the arrow keys to compare
similar images and Space to select when selection is available.
Select photos
Section titled “Select photos”If the studio requested a selection, each image can be marked. The gallery may allow:
- free selection;
- a required minimum;
- a maximum limit;
- different rules for different sections;
- selection lock after confirmation or after the deadline.
When the maximum is already reached, avoid adding more "maybe" choices. Use comments for anything that still needs a decision.
Confirm a selection
Section titled “Confirm a selection”Before confirming:
- Review every selected image.
- Check the count against the minimum and maximum.
- Remove duplicates or uncertain choices.
- Add comments where needed.
- Confirm only when the set is final.
After confirmation, the studio can lock the gallery so it can move into post-production or delivery.
Comments
Section titled “Comments”Comments are for specific feedback on one image. Good comments are operational:
- "Prefer this pose over 128."
- "Remove the person in the background if possible."
- "Black and white version."
- "Use this for the album."
- "Do not deliver."
Avoid generic comments like "nice" if they do not help the studio make a decision.
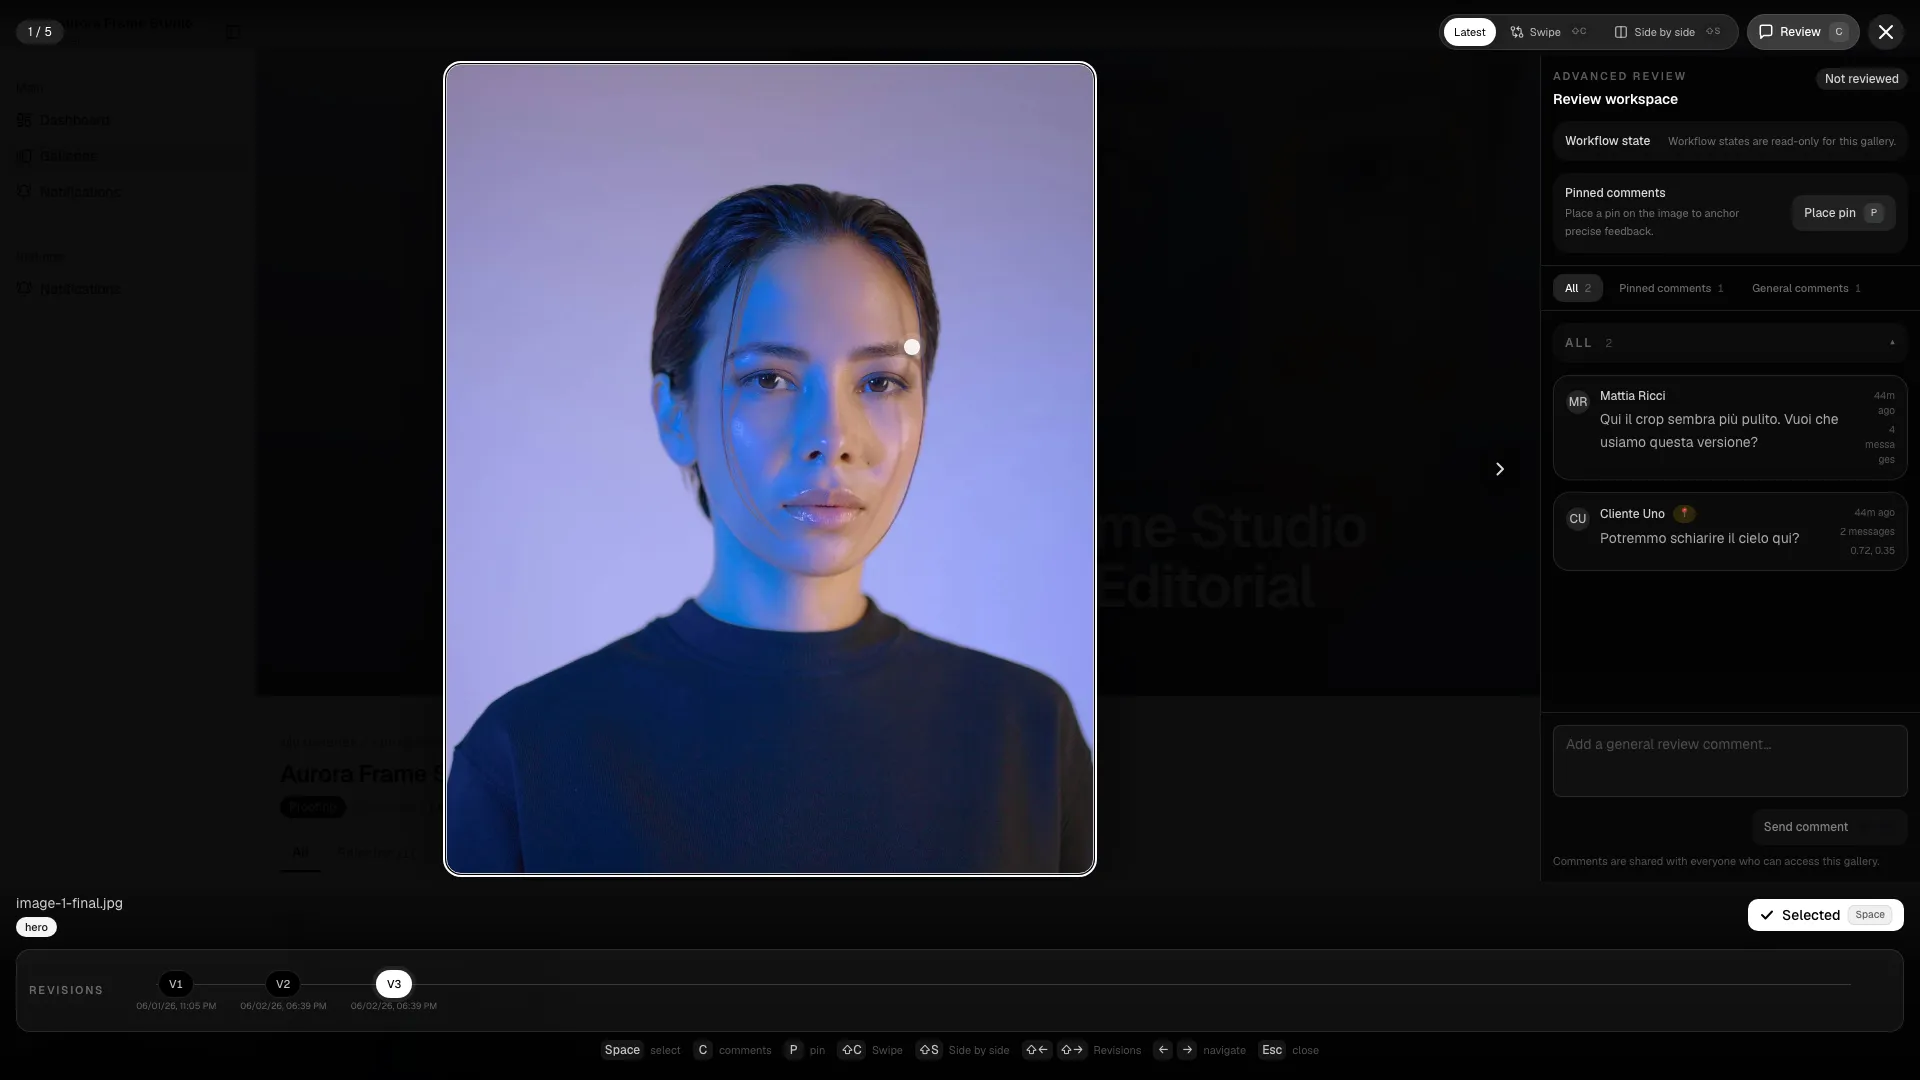
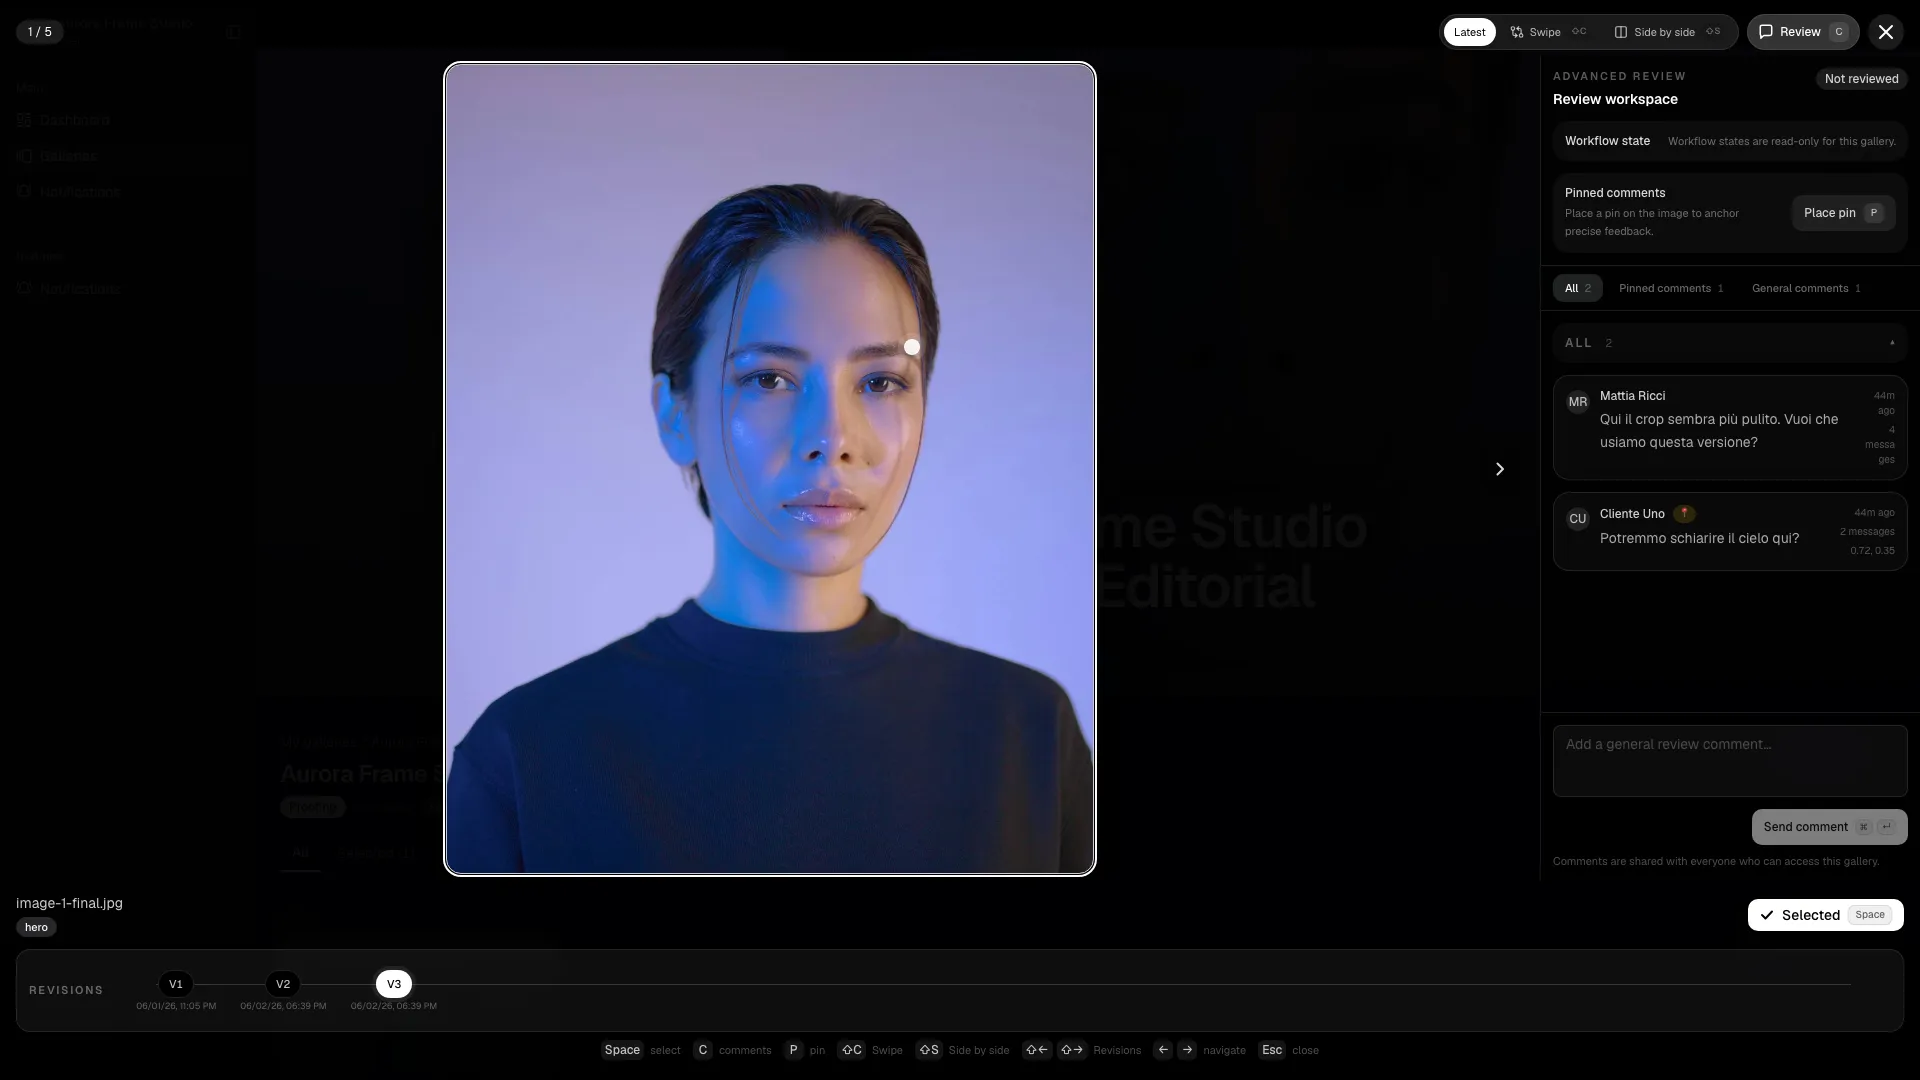
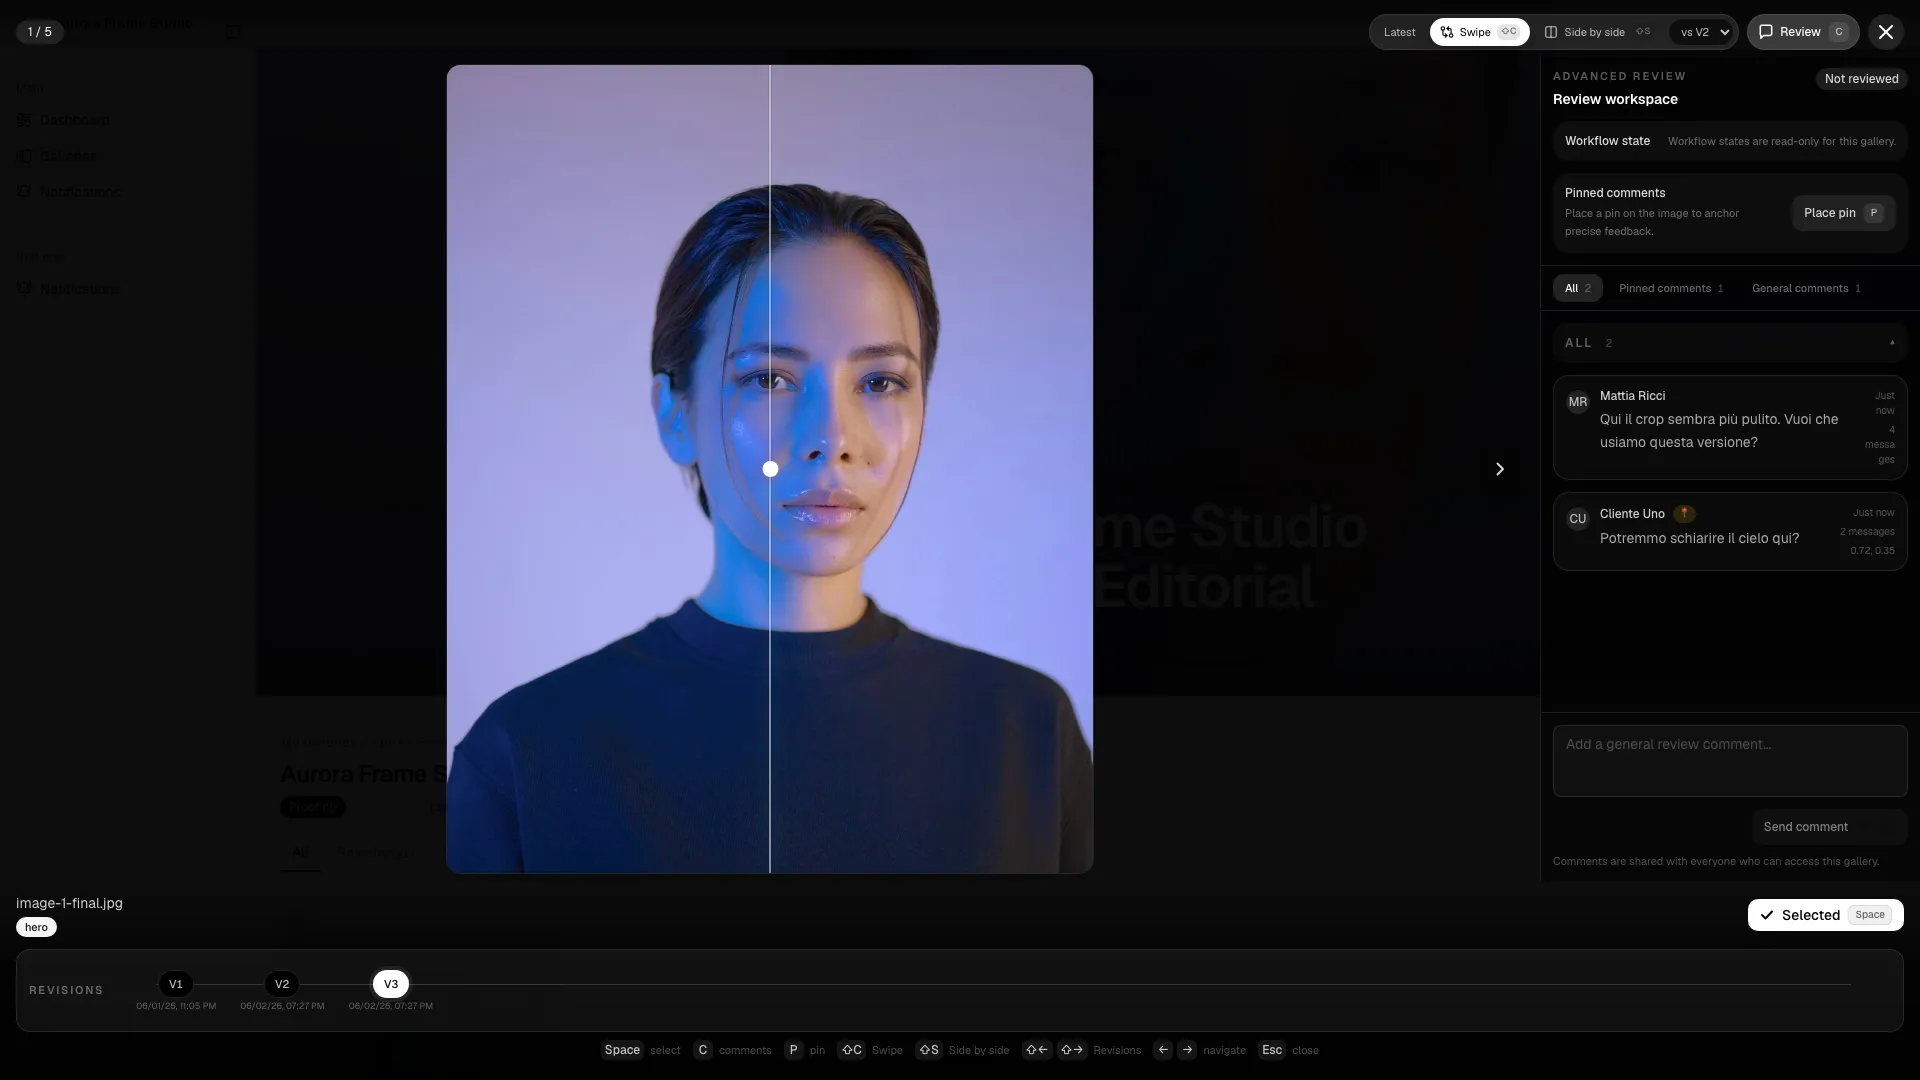
Advanced review
Section titled “Advanced review”When the studio enables advanced review, the lightbox opens with extra tools. The panel groups work into three flows:
- General comments for feedback that applies to the image as a whole.
- Pinned comments for feedback anchored to a visible point on the image.
- Workflow states for the current review stage when the studio wants to track progress more formally.


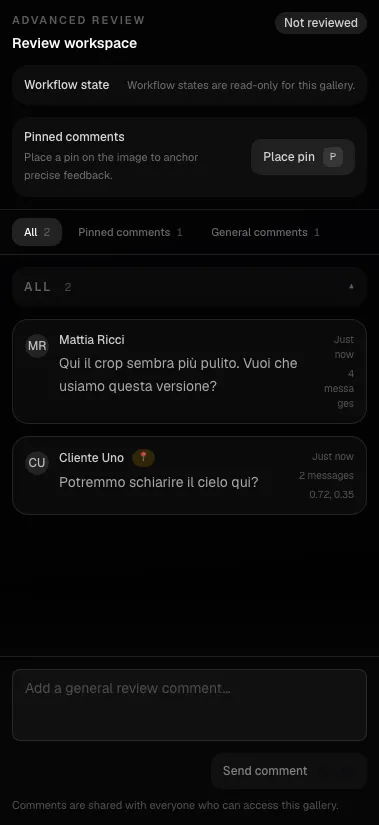
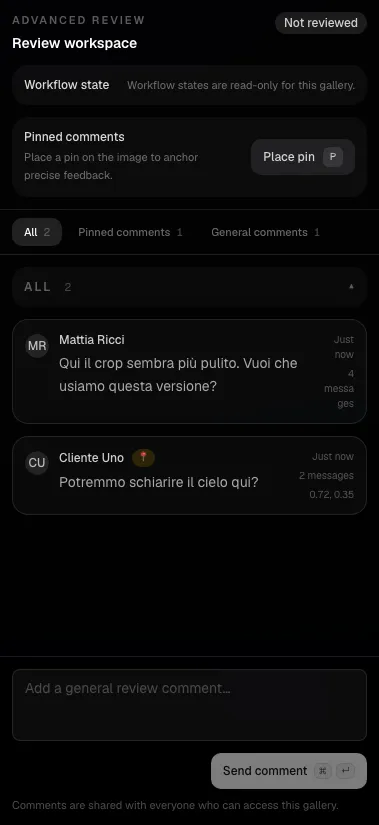

General comments
Section titled “General comments”General comments are the default thread type. Use them when the feedback is about the whole image:
- change the crop;
- soften contrast;
- retouch the subject;
- compare against another frame;
- confirm the image is final.
The comments tab shows the conversation history, the composer, and the latest reply first. That makes it easy to follow the review without leaving the image.
Pinned comments
Section titled “Pinned comments”Pinned comments are used when the feedback needs a precise location on the image. Typical cases include:
- remove an object from the background;
- adjust a hand, edge, or silhouette;
- correct a small retouch detail;
- mark the exact place where a change should happen.
To create one, enable pin mode, click on the image, then write the message and send it. The pin stays attached to that image point until the thread is closed or resolved.
Workflow states
Section titled “Workflow states”Workflow states help the team track the review without interpreting every comment individually.
| Status | Meaning |
|---|---|
| Not reviewed | Nobody has checked the image yet. |
| Needs edit | The image needs work before it can move on. |
| In progress | The studio is currently working on the request. |
| Waiting approval | The next step is client or internal approval. |
| Ready | The image is approved or ready for delivery. |
When workflow states are enabled, they appear in the lightbox header and in the admin gallery detail. In read-only galleries, clients can see the state but cannot change it.
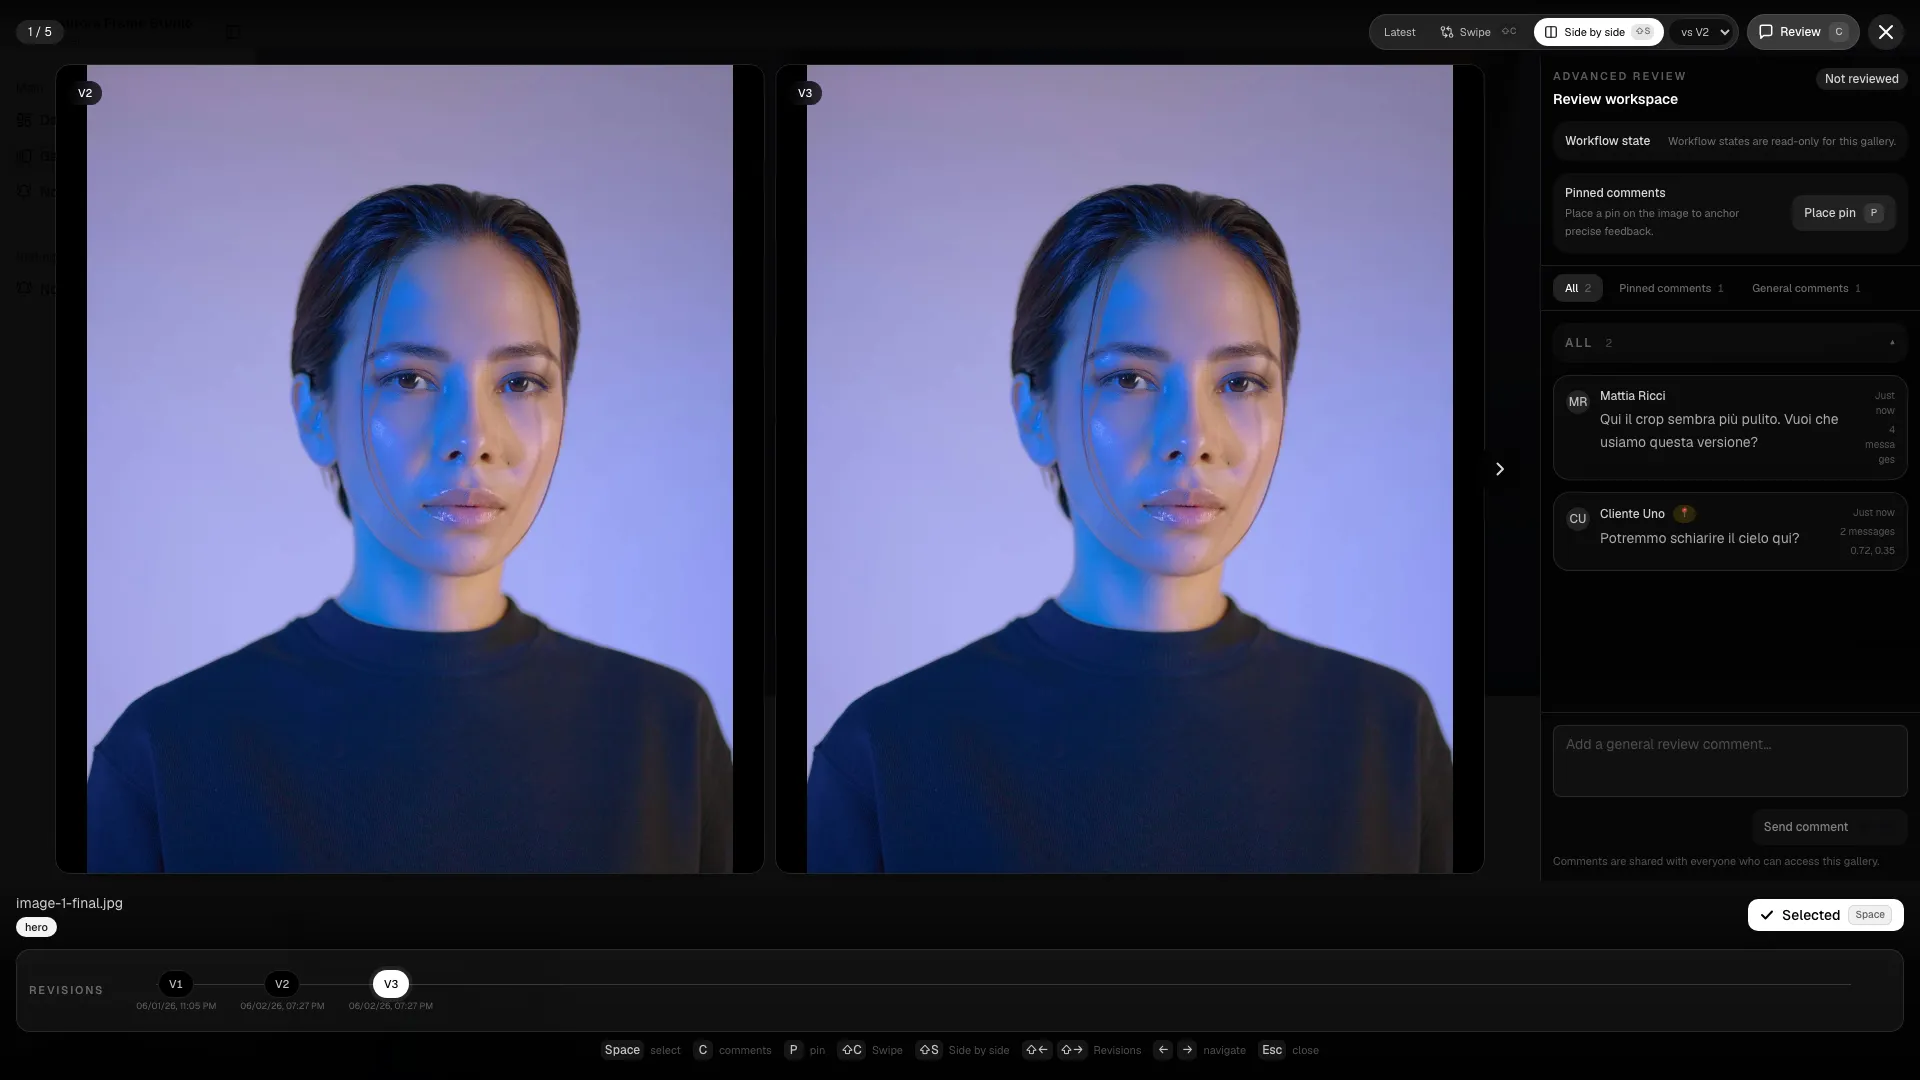
Revisions and comparison
Section titled “Revisions and comparison”If the studio uploads revisions, the lightbox can show version history and compare the current image against a previous one.
- Use the revision history to jump between versions.
- Use swipe comparison for a quick before/after check.
- Use side-by-side comparison when you need to inspect details carefully.
This is especially useful when the studio publishes a corrected file and wants to verify that the updated version really resolves the request.

Notifications
Section titled “Notifications”Advanced review activity can surface in the inbox and in email depending on the notification settings. If you are waiting for a response, check the inbox first; if the studio configured email delivery, the same event can arrive there too.
Face filters
Section titled “Face filters”If face analysis is available, you can narrow the gallery to groups of images linked to a person. This is useful for weddings, events, and large shoots with many subjects.
Use the face filter as a helper, not as a perfect source of truth. If you are unsure, always check the full grid.
Common problems
Section titled “Common problems”| Problem | What to do |
|---|---|
| I cannot select images | The gallery is view-only, locked, or the selection limit was reached. |
| I do not see comments | You may not have permission, or advanced review is not enabled. |
| The gallery expired | Contact the studio for reopening or an extension. |
| I cannot find a photo | Check active filters, sections, and visual context. |
| I confirmed by mistake | Contact the studio immediately before the gallery is locked. |
Client checklist
Section titled “Client checklist”- Open the correct gallery.
- Read the deadline and instructions.
- Select the required number of photos.
- Leave useful comments.
- Review the selection again.
- Confirm only when you are sure.