Gallery Management
Admins use galleries as the core workspace for every shoot. This area covers the entire life cycle: create the gallery, upload previews, configure proofing, check the admin workspace, and move the work toward delivery.
CreateAdd title, client, status, selection mode, limits, and deadline.
OrganizeUse tags, sections, cover images, and sorting to shape the review experience.
ShareInvite clients, selectors, and viewers with the right access level.
Where the gallery work happens
Section titled “Where the gallery work happens”The main pages are the gallery list, the new-gallery form, the single-gallery admin workspace, the edit page, the upload page, and the delivery page.
The sidebar shows these pages only to owners and admins. Clients use their own shared-gallery workspace instead.
Gallery list
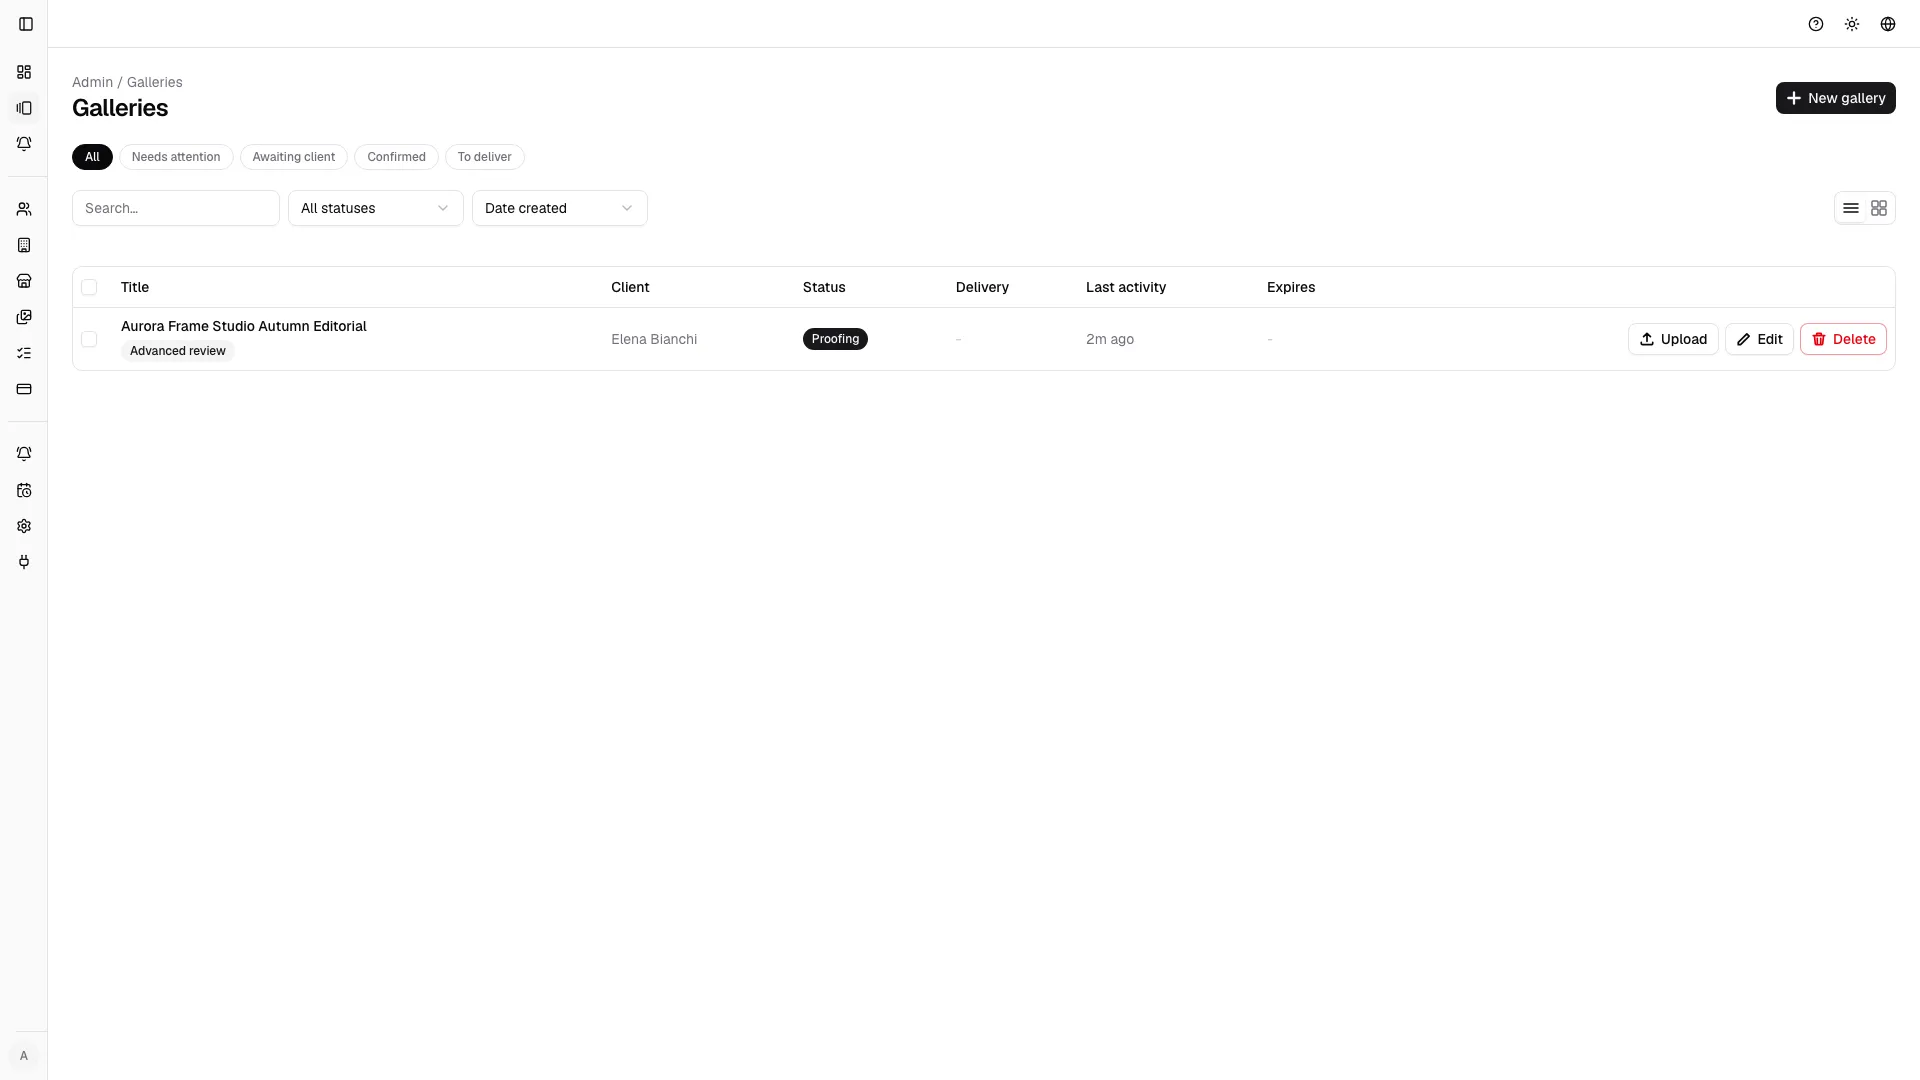
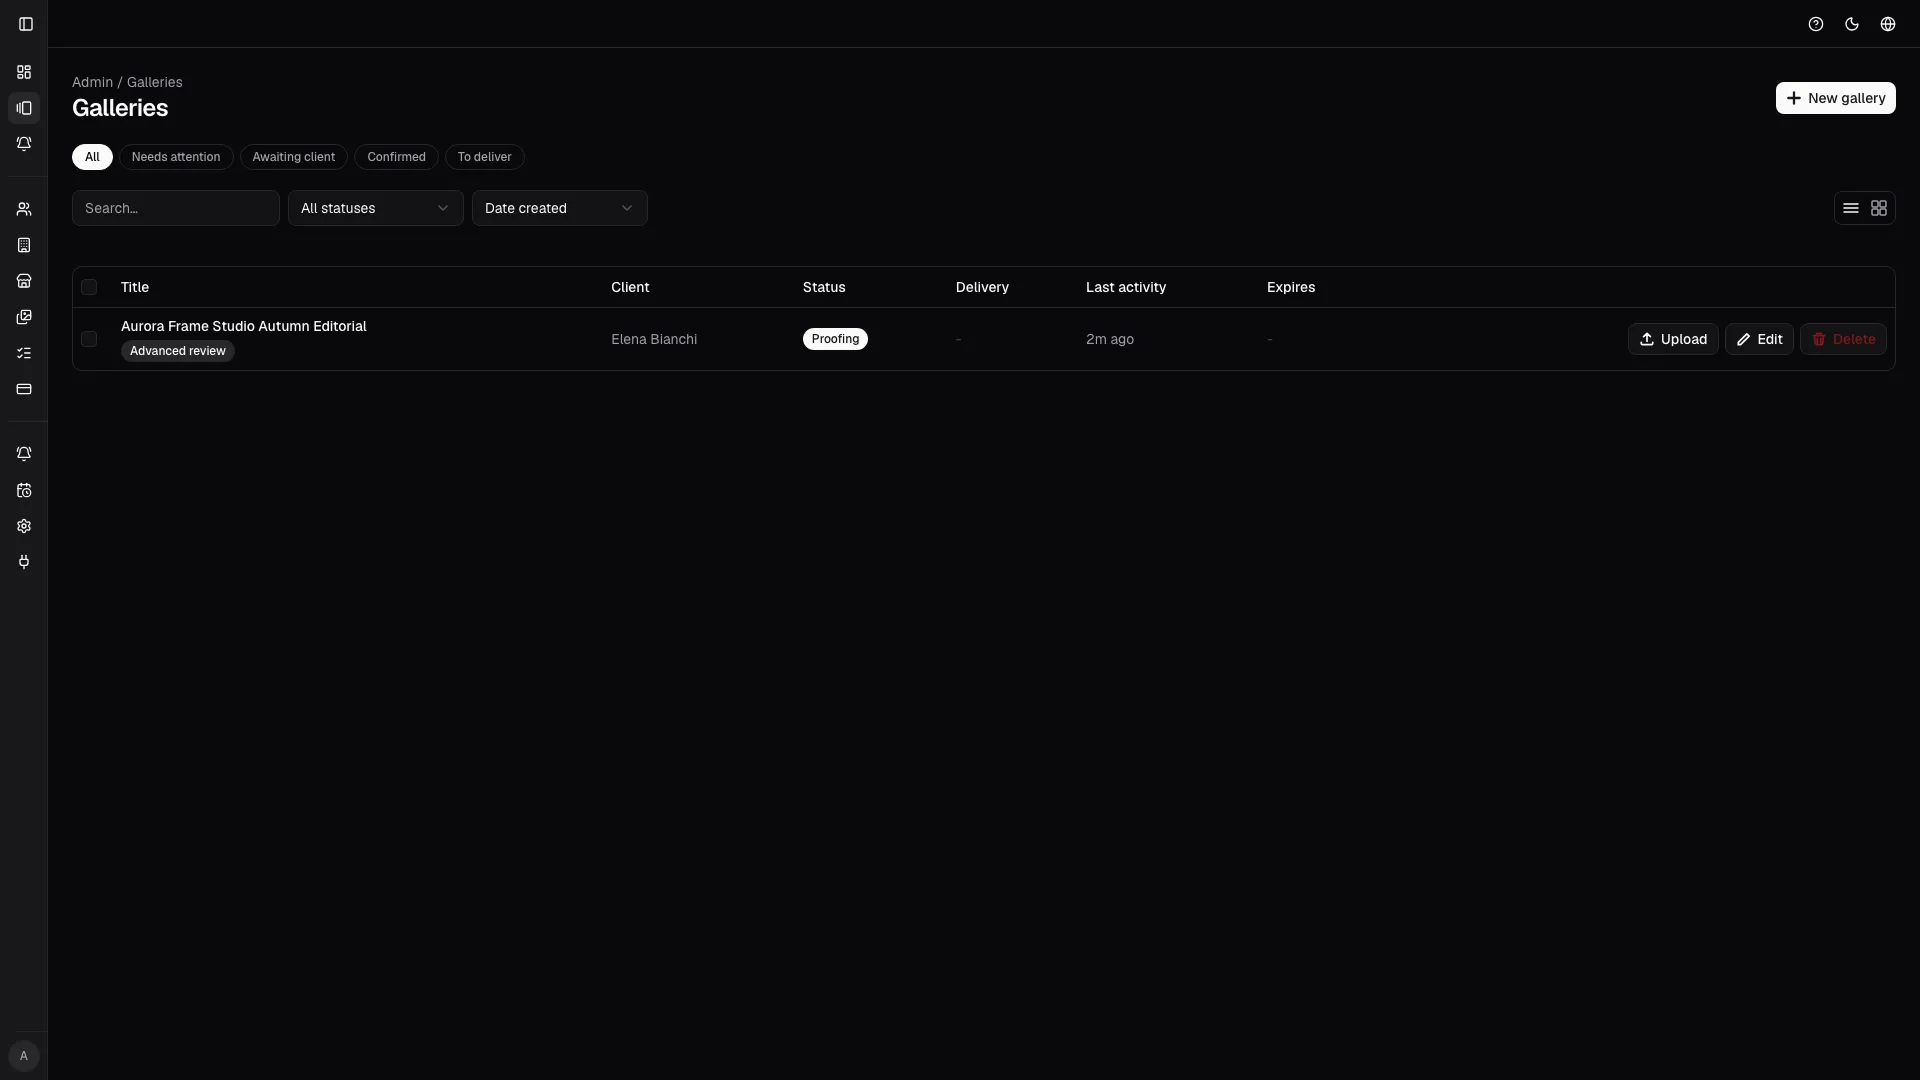
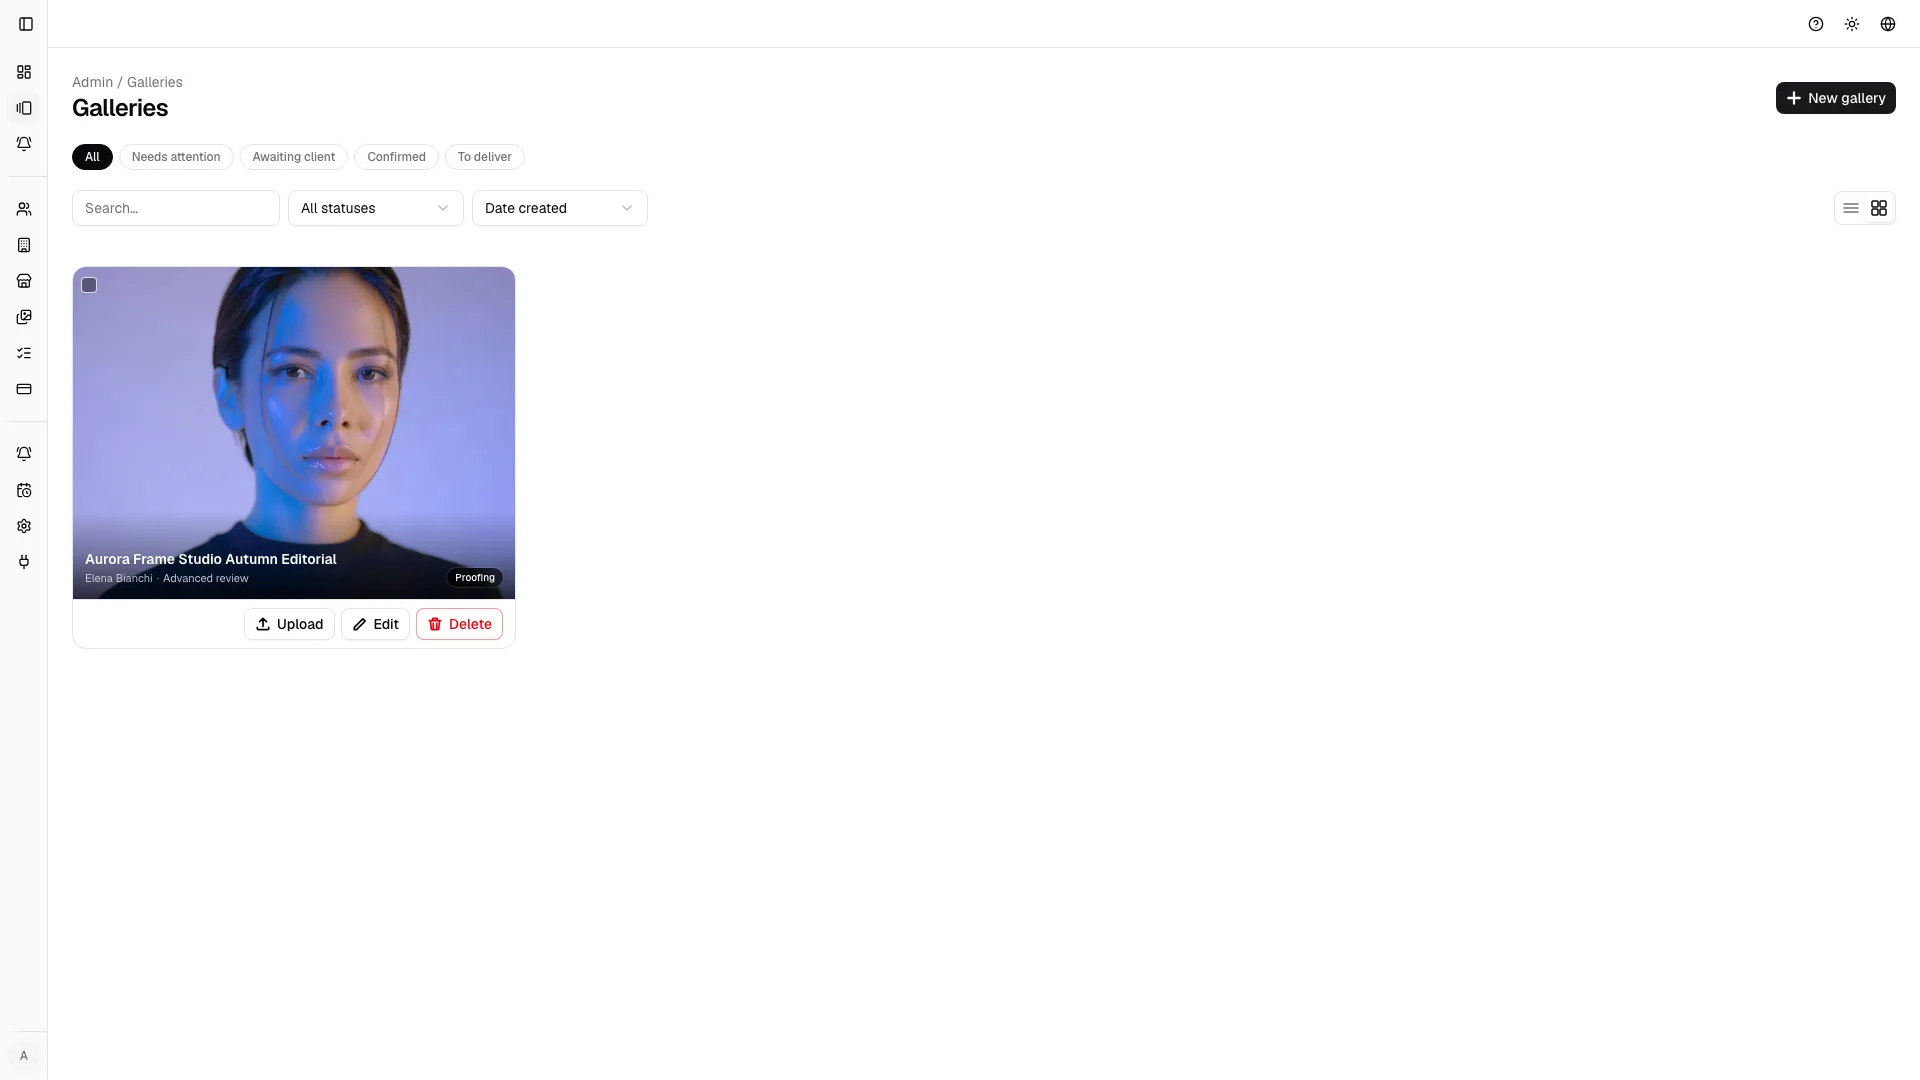
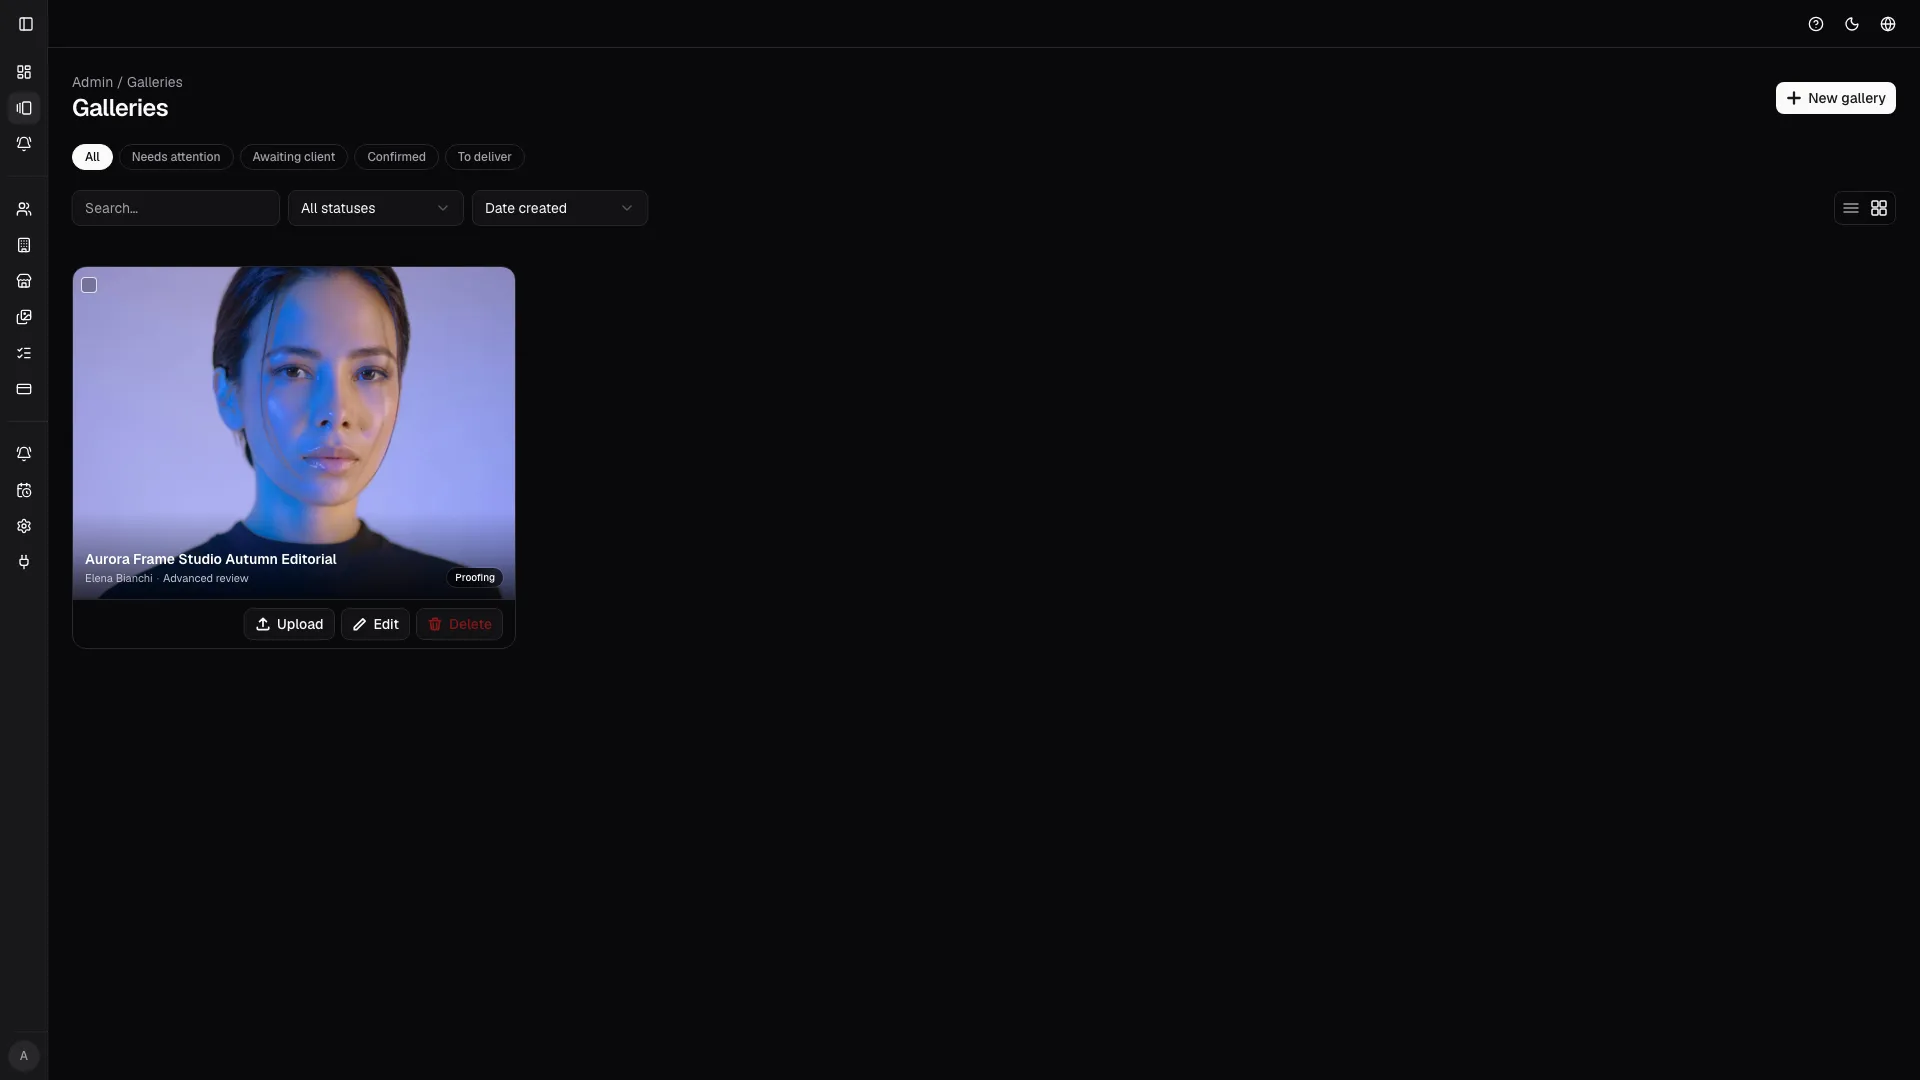
Section titled “Gallery list”Open the gallery management page to understand what needs attention.
Search and filters
Section titled “Search and filters”You can use:
- Search for title, client, or other identifying information.
- Status to narrow the list to one operational phase.
- Quick filters for views such as all, attention needed, pending, approved, or ready for delivery.
- Sort for operational priority, update time, or dates.
- Grid/table view; the preference stays saved in the browser.
Bulk actions
Section titled “Bulk actions”Select multiple galleries from the list to apply bulk actions:
- archive completed work;
- change status when multiple galleries move through the same phase;
- delete records that are no longer needed, if the context allows it.
Before destructive actions, check client, title, and status. An archived gallery is still useful as history; a delete is meant for accidental records.
Usage alerts
Section titled “Usage alerts”The list shows usage alerts when the studio is approaching plan limits, gallery limits, or storage limits. If the create button is disabled, check Billing and integrations first.
Create a gallery
Section titled “Create a gallery”Open the new-gallery page or use the New gallery button from the list.
Main fields
Section titled “Main fields”Fill in:
- Client: the person or company that receives the gallery.
- Title: the visible name of the job.
- Slug: the readable URL portion or public identifier.
- Description: optional context or notes.
- Shoot date: the date of the session.
- Deadline: when the client should open, select, or confirm.
- Initial status: usually disabled or preparing until the previews are ready.
Selection mode
Section titled “Selection mode”Selection mode decides what the client can do:
- View only: the client can browse but cannot select.
- Free selection: the client can mark favorites without a hard limit.
- Limited selection: set a minimum and/or maximum selection count.
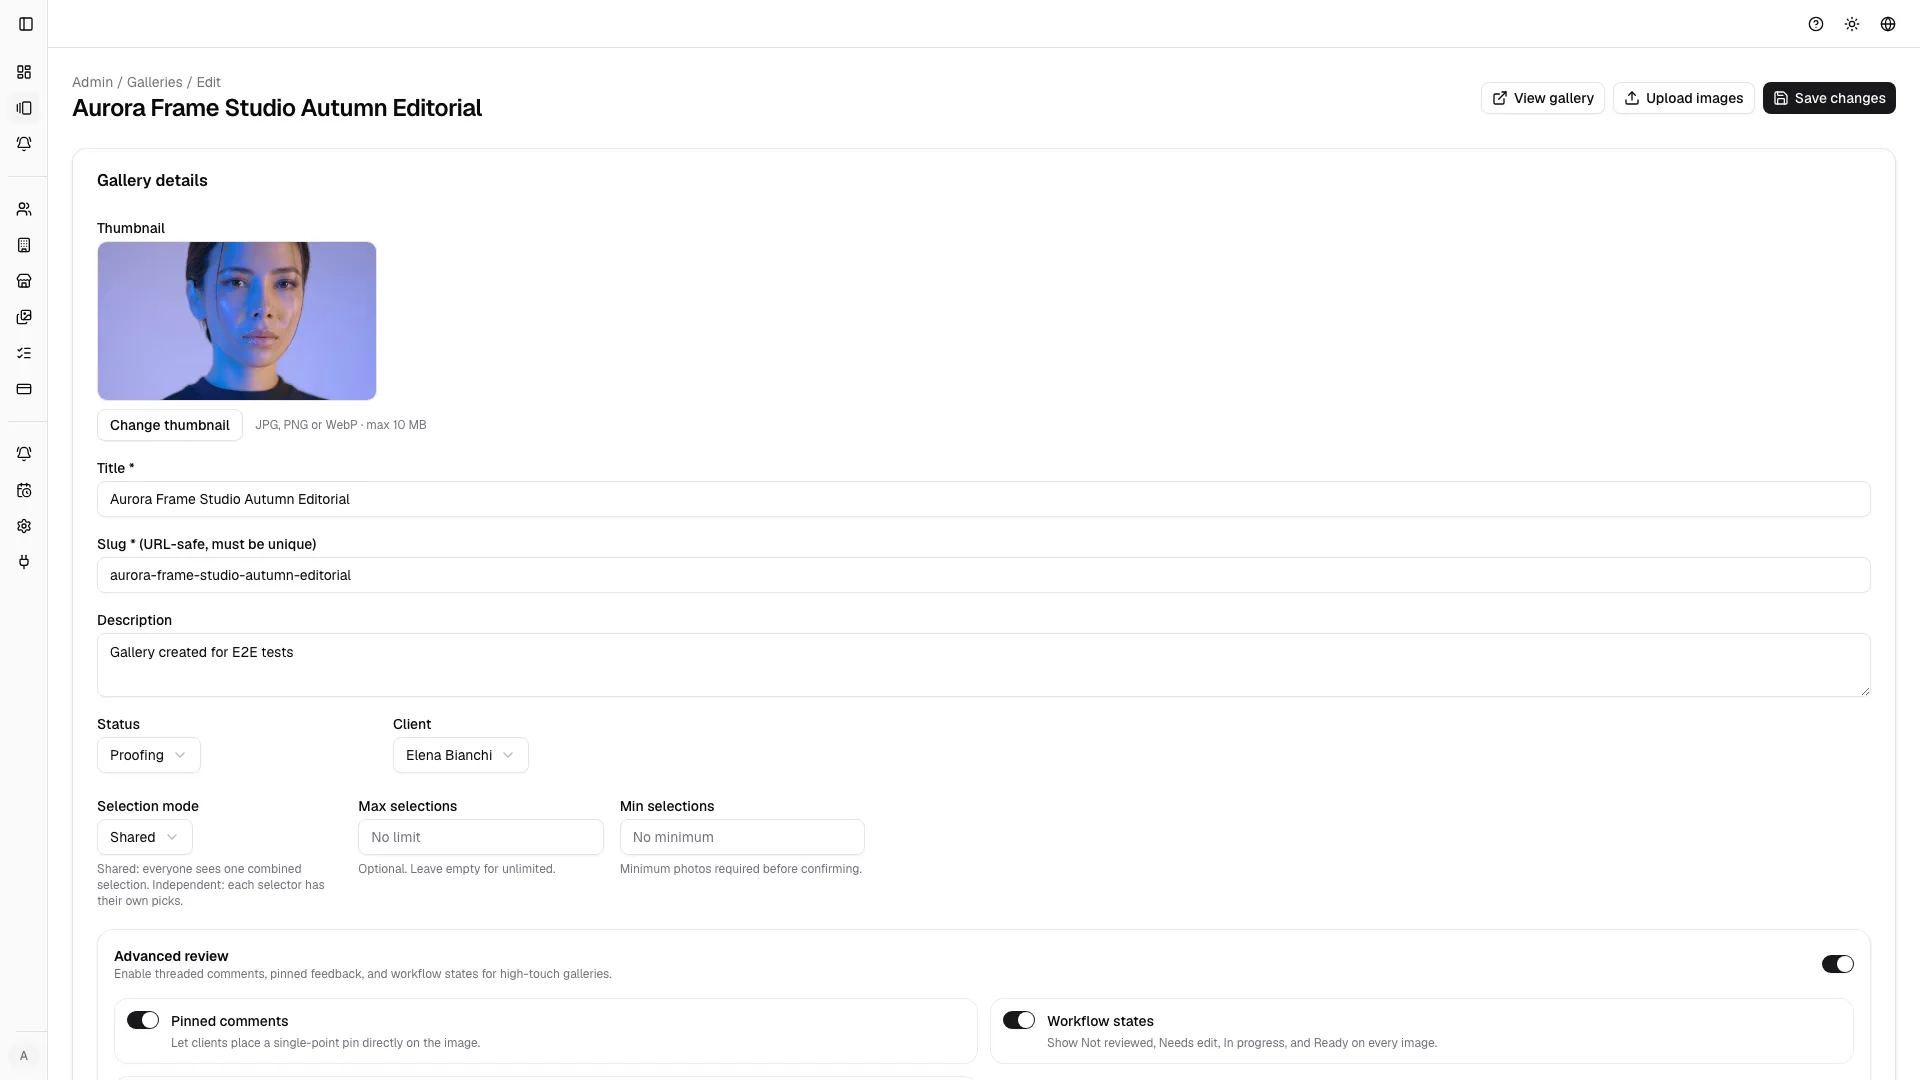
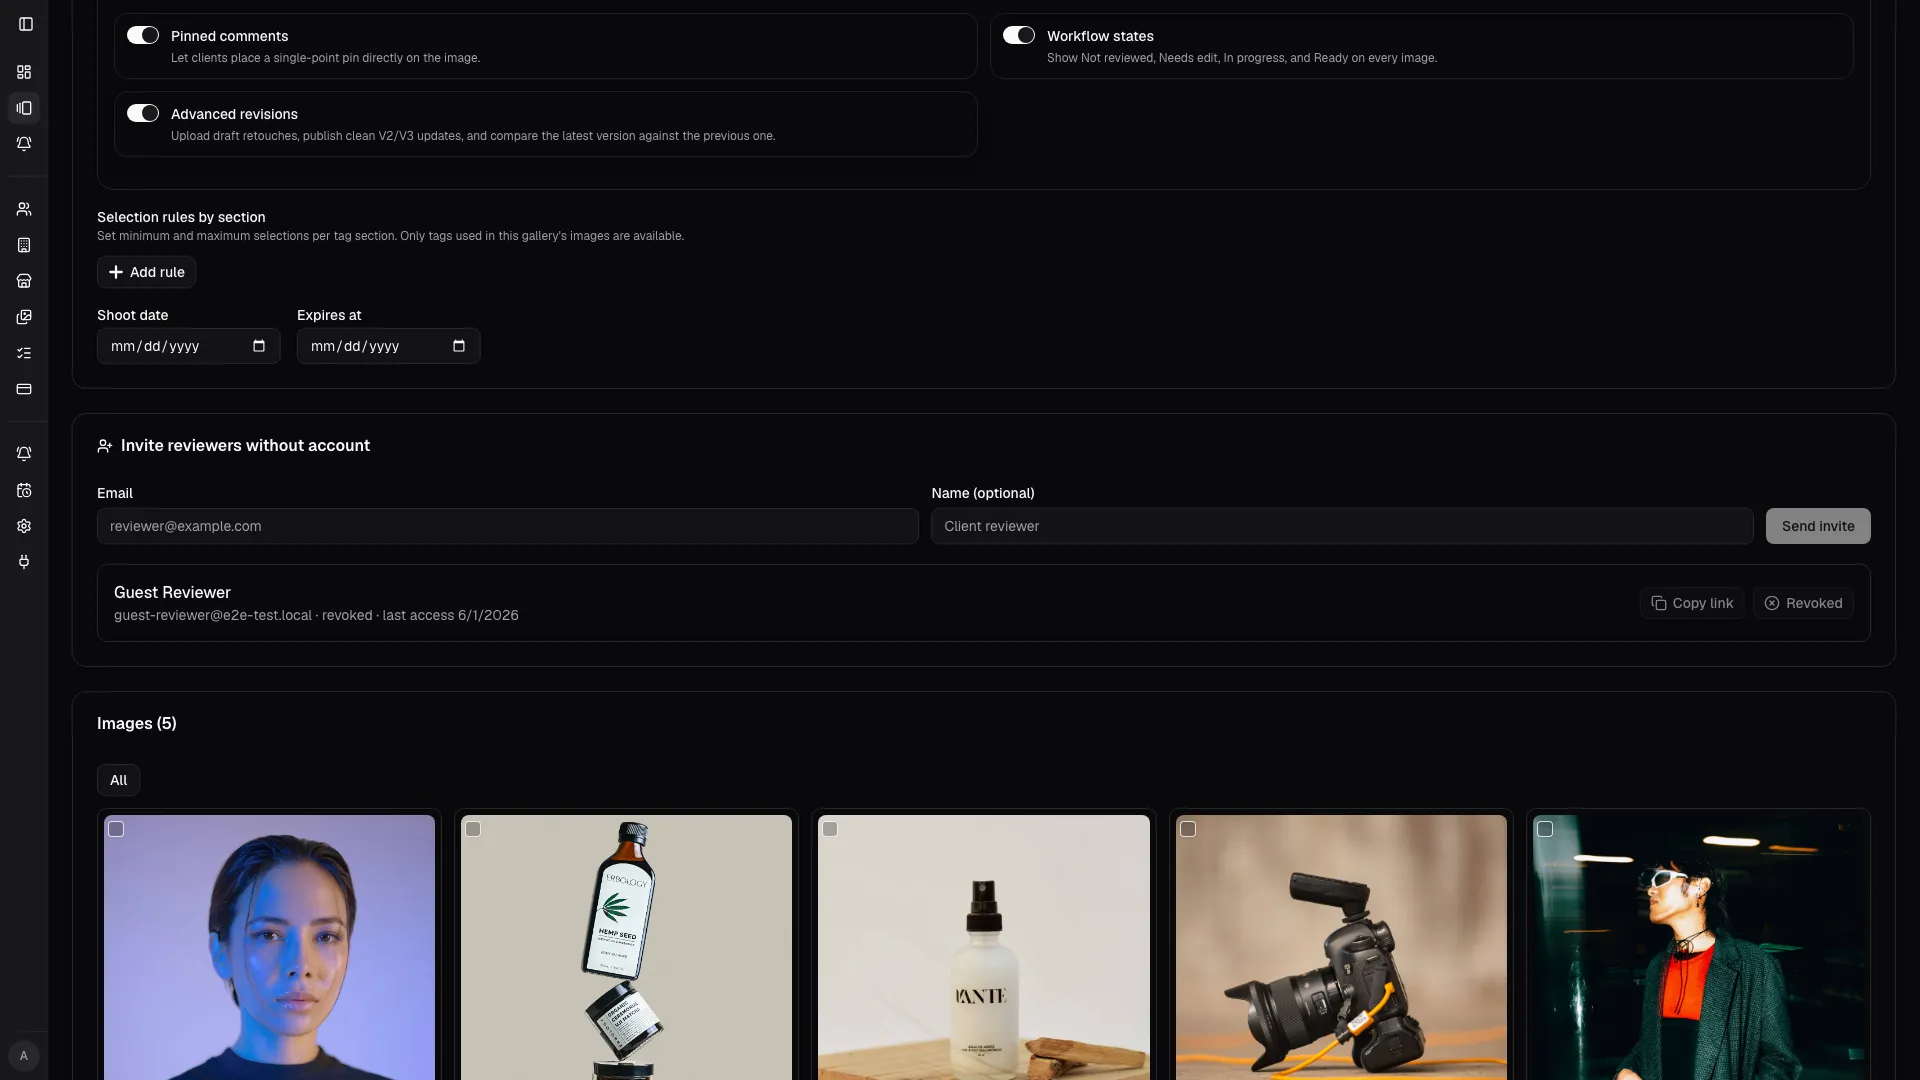
- Advanced review: when the plan allows it, add workflow states and pinned comments.
Set the limit before sending invitations. Changing it after the client has already started can create confusion.
Sections
Section titled “Sections”Sections are useful when a gallery contains different moments: preparation, ceremony, portraits, reception, details, or social exports. They help clients stay oriented and keep review precise.
Use sections when:
- the job has many images;
- editorial and private deliverables need to be separated;
- multiple reviewers should focus on different parts;
- selection limits differ between blocks.
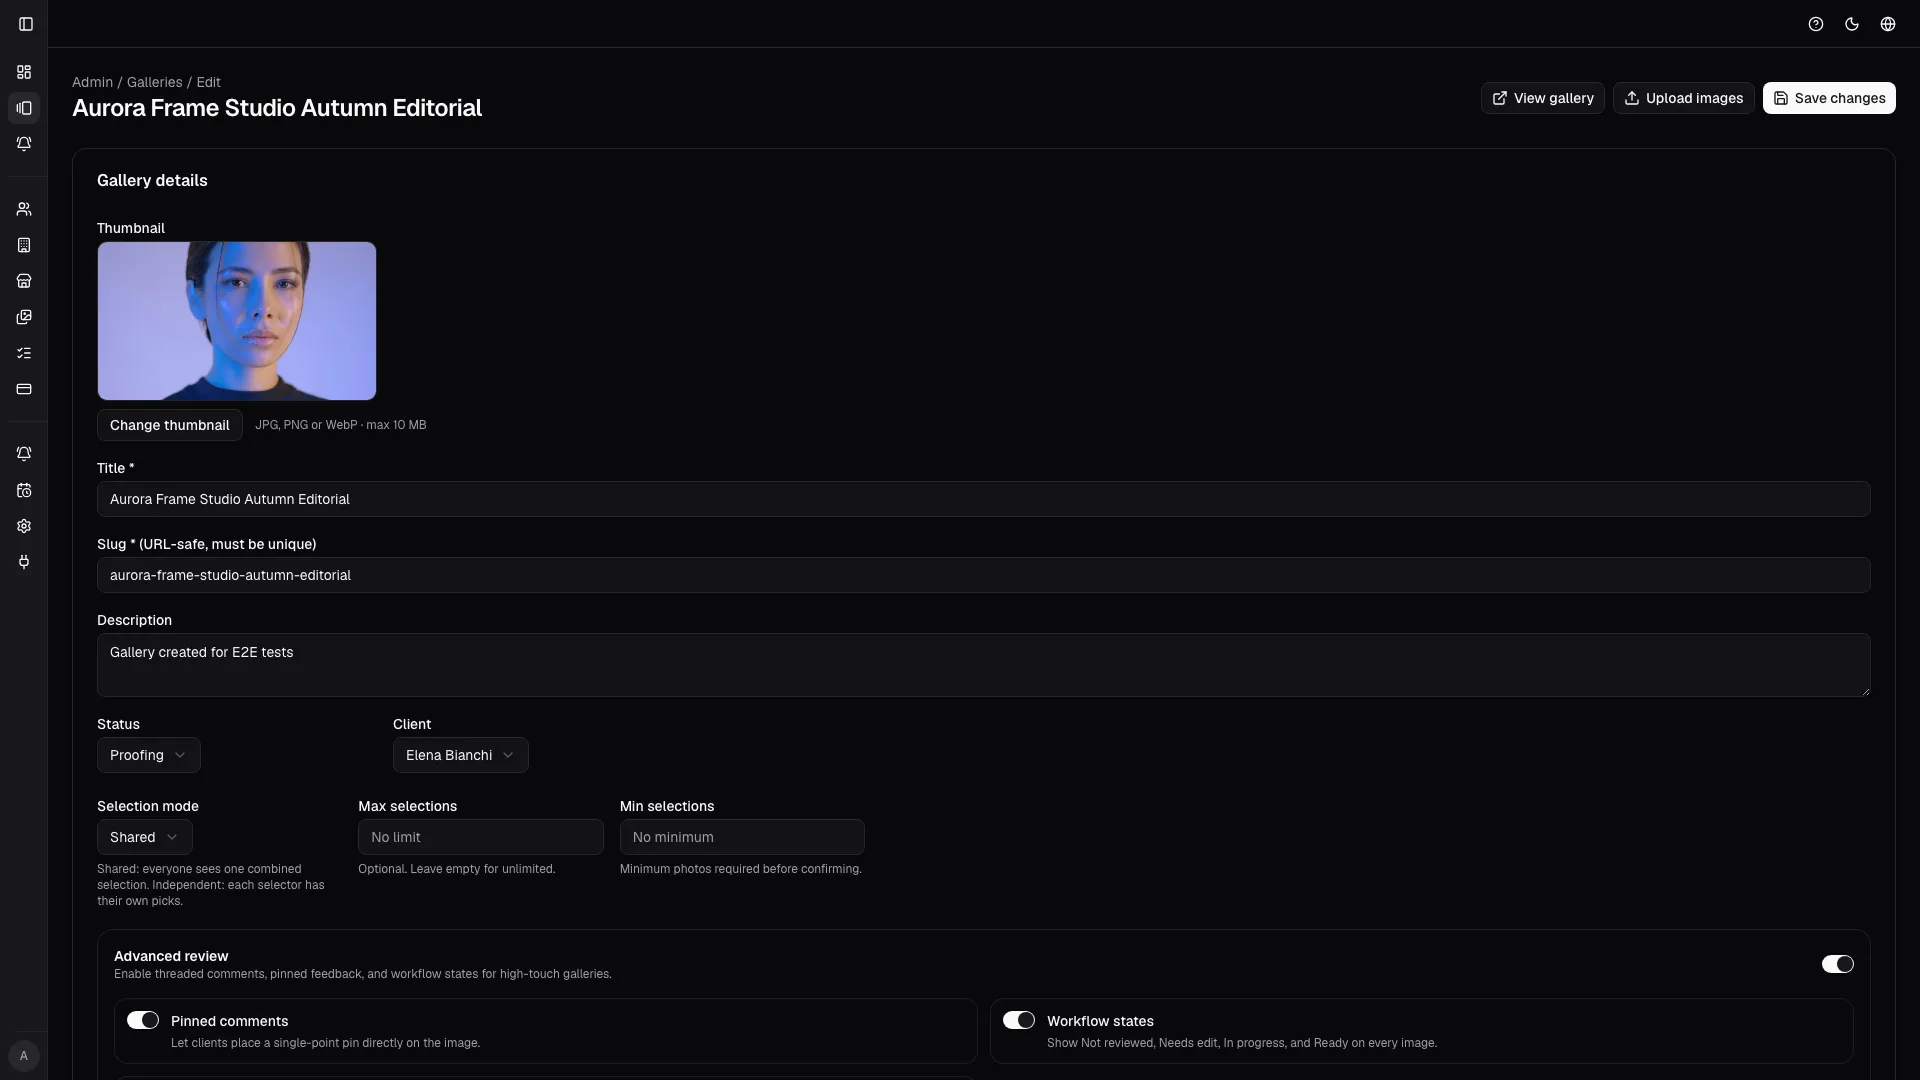
Advanced review
Section titled “Advanced review”When the plan allows it, you can enable:
- pinned comments for image-specific feedback;
- workflow states to track the review status;
- structured client feedback beyond a simple comment.
Gallery states
Section titled “Gallery states”The status matters for both the team and the client.
| Status | When to use it | Operational effect |
|---|---|---|
| Disabled | The gallery is still being prepared or should not be visible. | Prevents early access. |
| Proofing | The previews are ready and the client should review or select. | The gallery enters the client workflow. |
| Locked | The review period is closed or the team is consolidating the set. | Reduces late changes while delivery is prepared. |
| Locked for download | Selections are closed and delivery is about to be published. | Useful as the bridge between proofing and delivery. |
| Archived | The job is complete and no longer needs daily attention. | Keeps history while cleaning the operational list. |
Do not use Archived to hide an open problem. If the client is not finished, use filters and reminders instead.
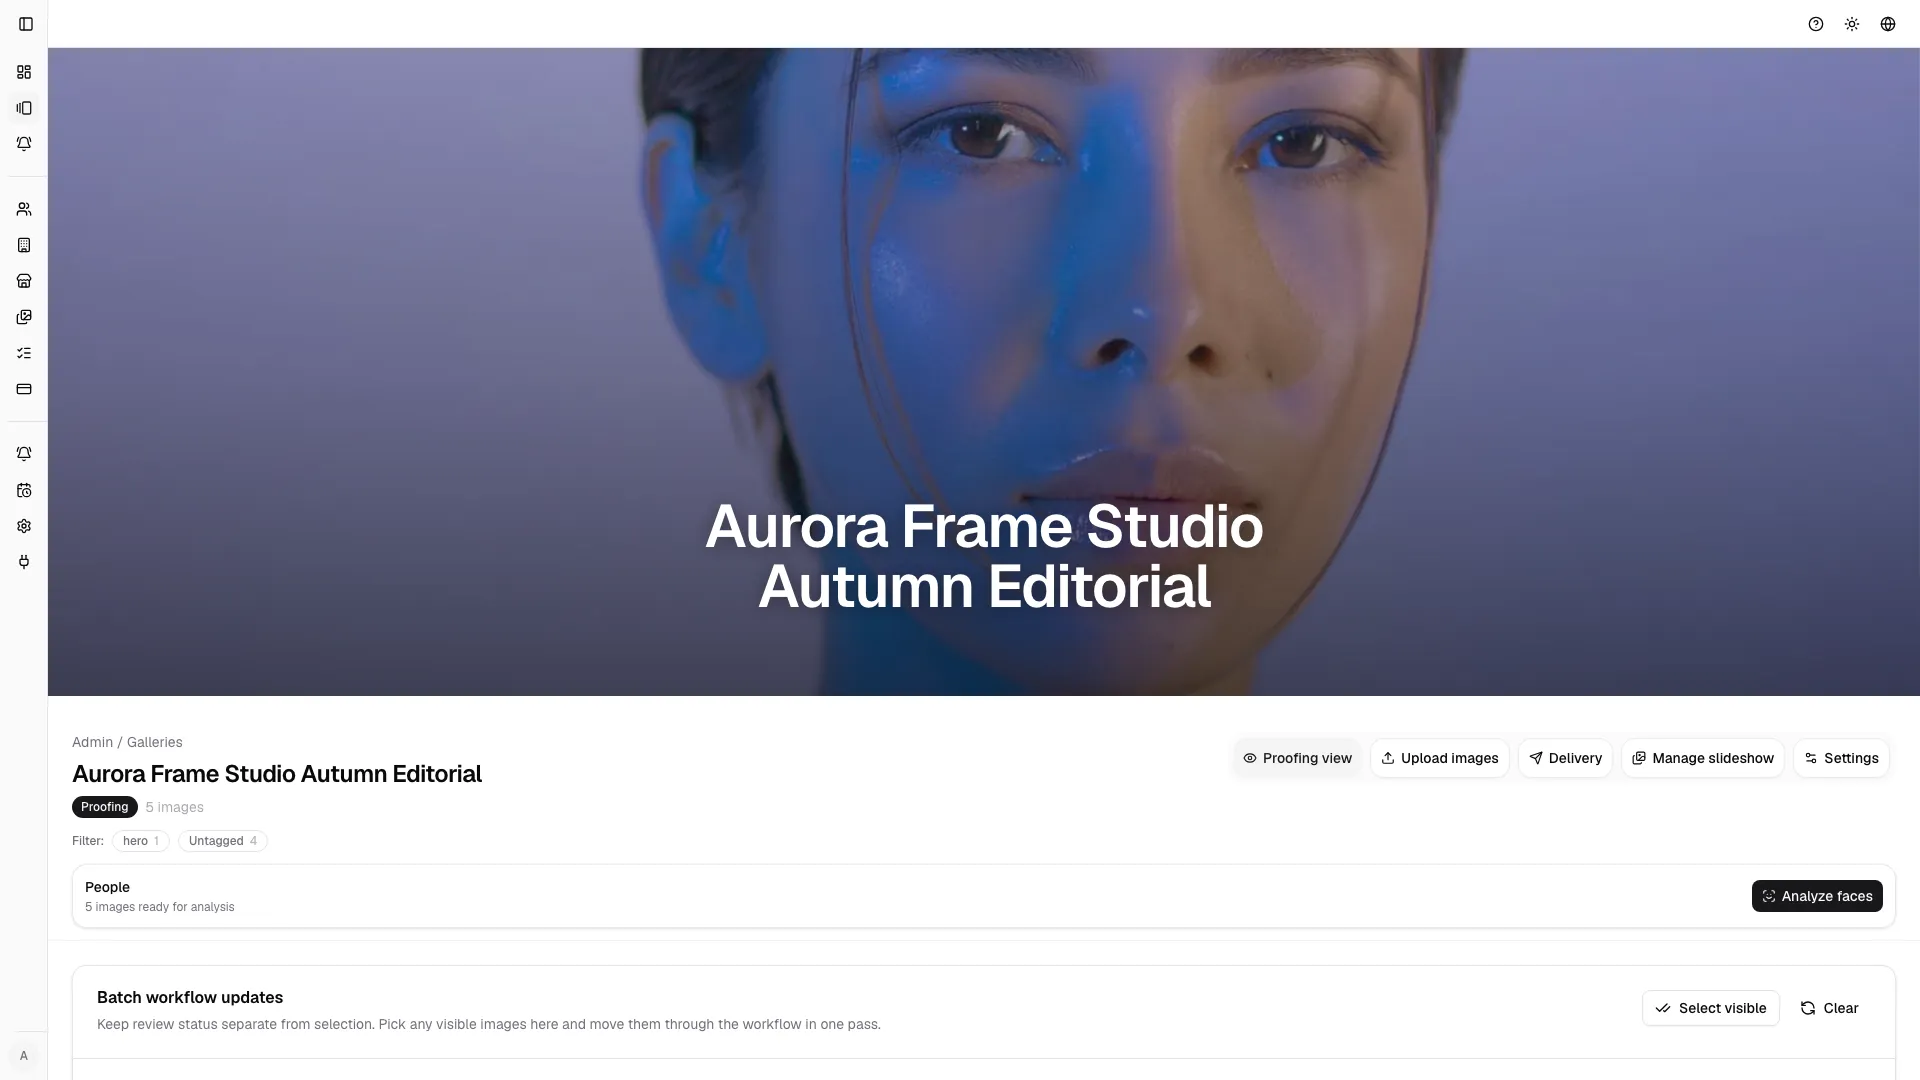
Admin workspace
Section titled “Admin workspace”Opening a gallery takes you into the admin workspace, where you control the job before delivery.
Header and quick actions
Section titled “Header and quick actions”Check immediately:
- title and client;
- current status;
- deadline;
- image count;
- selection count;
- comment or review indicators;
- links to upload, edit, and delivery.
Image grid
Section titled “Image grid”The image grid is used to:
- verify that the previews are present;
- check cover image and ordering;
- see which images were selected;
- open the lightbox;
- run batch actions;
- read or answer comments.
If a gallery is still empty after upload, open Tasks and check whether preview generation is still running or failed.
Batch actions
Section titled “Batch actions”Batch actions are useful when working on many images:
- select groups;
- update statuses;
- prepare vendor sets;
- generate or refresh derived assets;
- clean up accidental uploads.
Apply batch actions only after filtering the grid correctly. In large jobs, the wrong bulk action is more expensive to fix than to avoid.
Advanced review in the admin workspace
Section titled “Advanced review in the admin workspace”When advanced review is enabled, the admin gallery detail adds controls for workflow states, pinned comments, and revision handling. The admin view is where the studio changes status in bulk and checks how the client will see the same image inside the proofing lightbox.
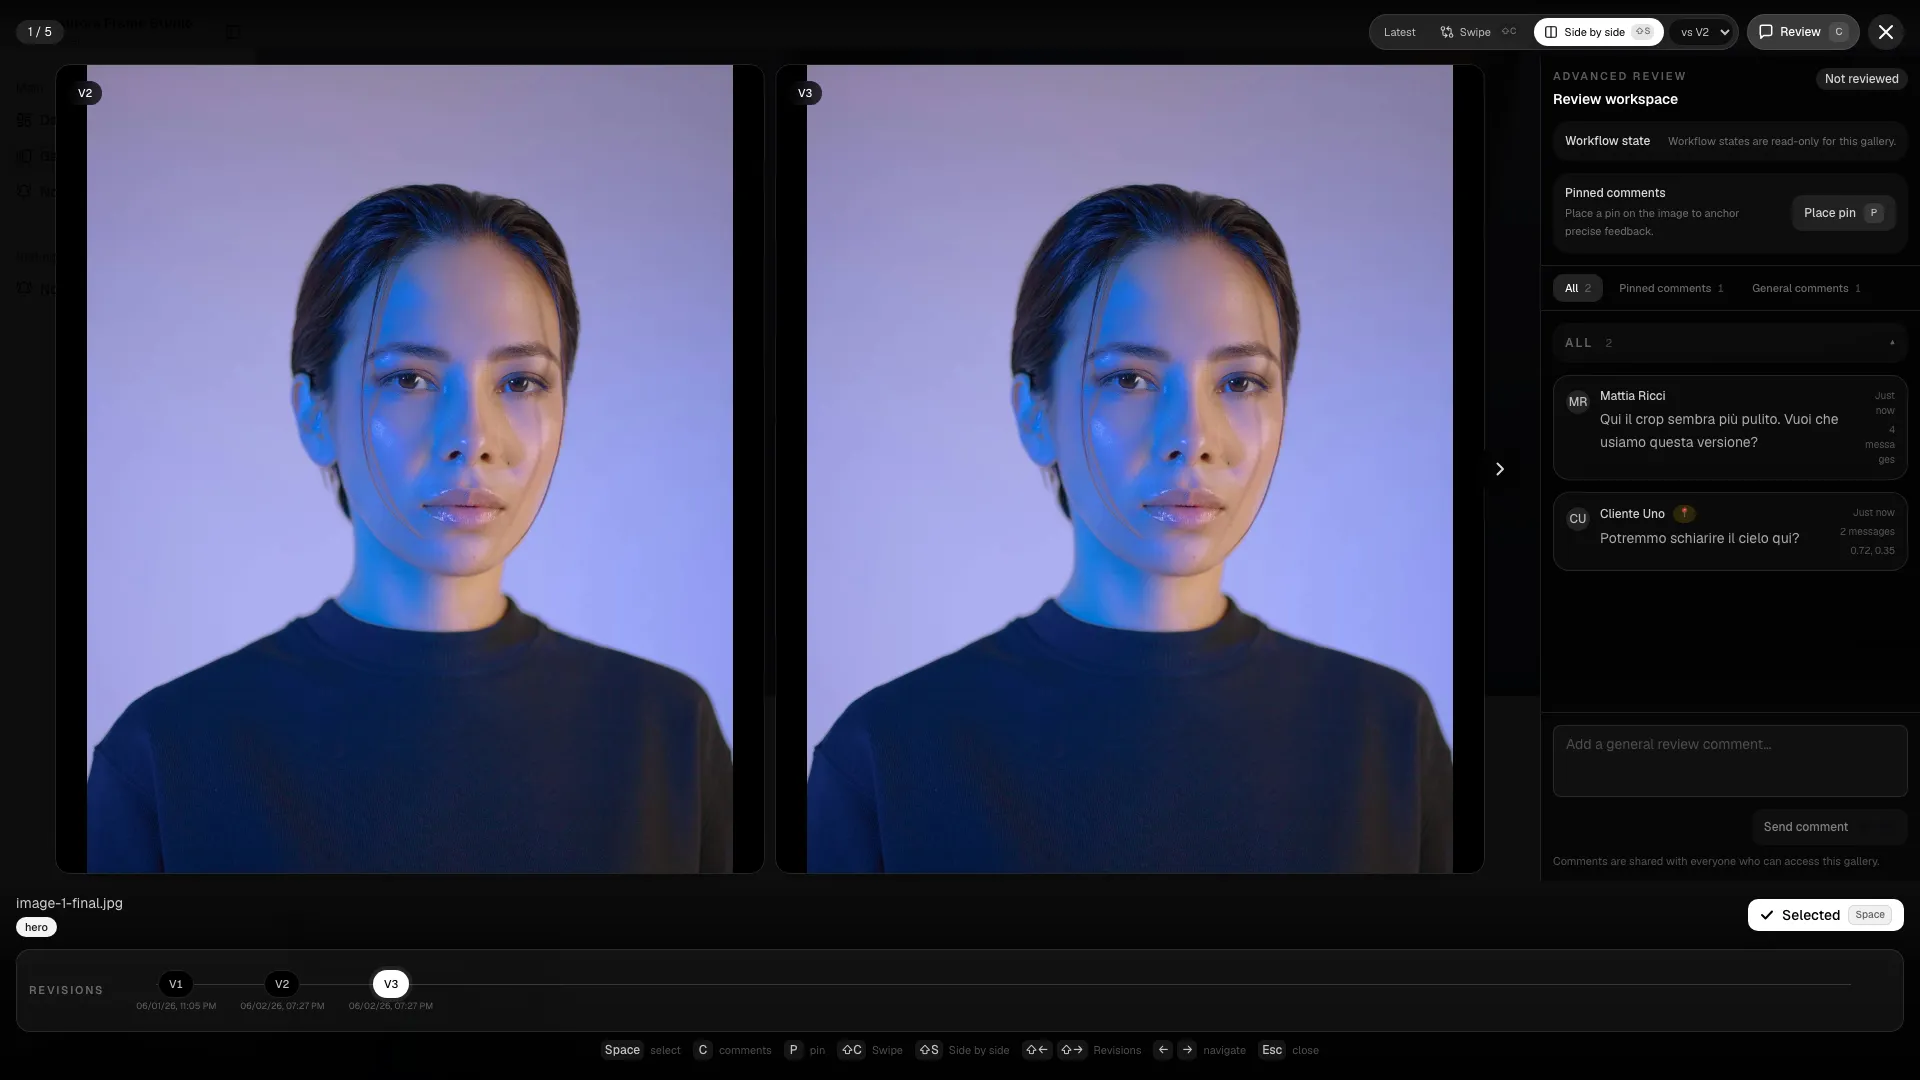
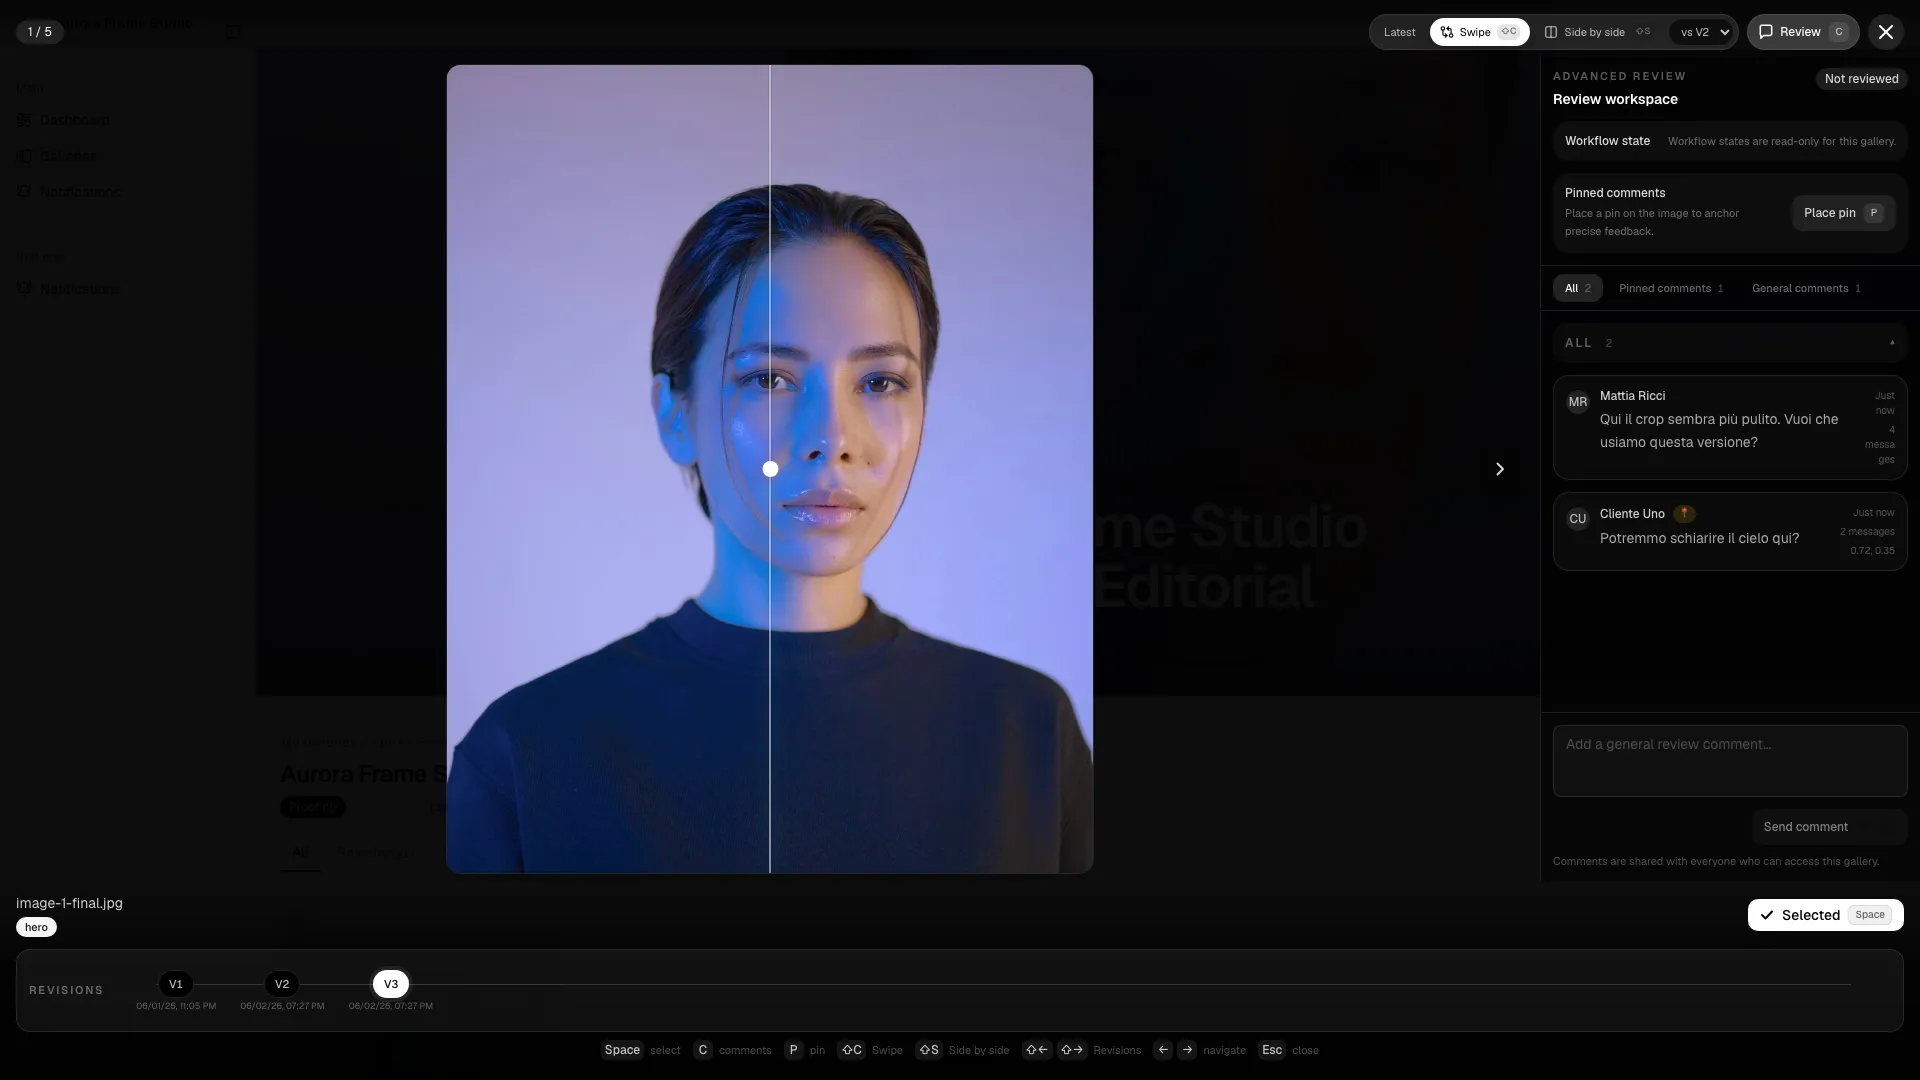
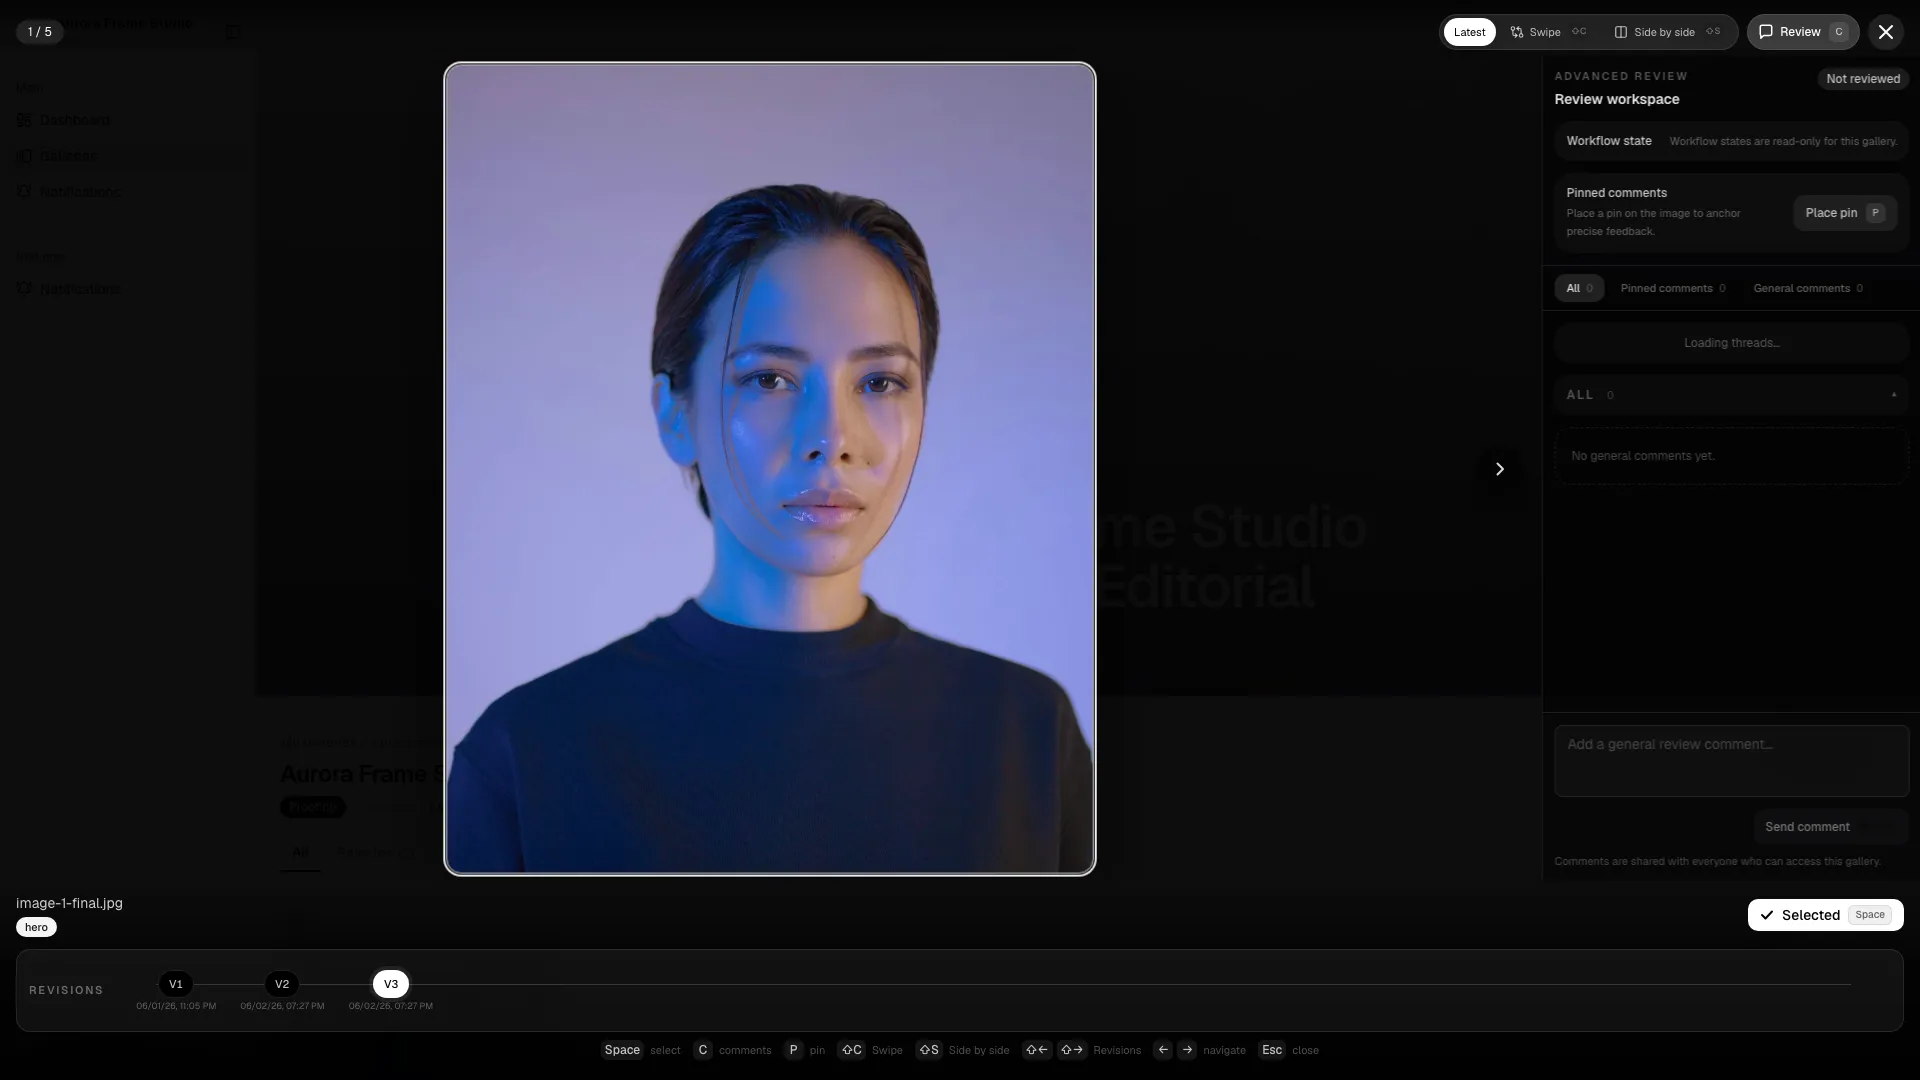

What the admin view adds
Section titled “What the admin view adds”- Workflow batch panel for changing multiple images at once.
- Pinned comment context so the team can track the exact point of the requested retouch.
- Revision controls when the gallery has more than one version of an image.
- Review mode so the team can focus only on images with a current workflow state.
Recommended check before publishing
Section titled “Recommended check before publishing”- Open one image in side-by-side mode to verify the visible retouch changes.
- Use the slider compare for local details such as skin retouch or object cleanup.
- Confirm pinned comments are resolved or answered.
- Check the timeline to make sure the latest revision is selected.
Use the admin panel when the studio needs to update the same decision across a group of images. Use the client lightbox when the client should review one image at a time.
Edit a gallery
Section titled “Edit a gallery”Use the edit page when you need to correct configuration or metadata.
You can change:
- title and description;
- client assignment;
- status;
- dates;
- proofing mode;
- minimum and maximum limits;
- advanced review settings;
- thumbnail or cover;
- sections.
Avoid structural edits while the client is already working. If you must make a change, warn the client and consider locking the gallery temporarily.
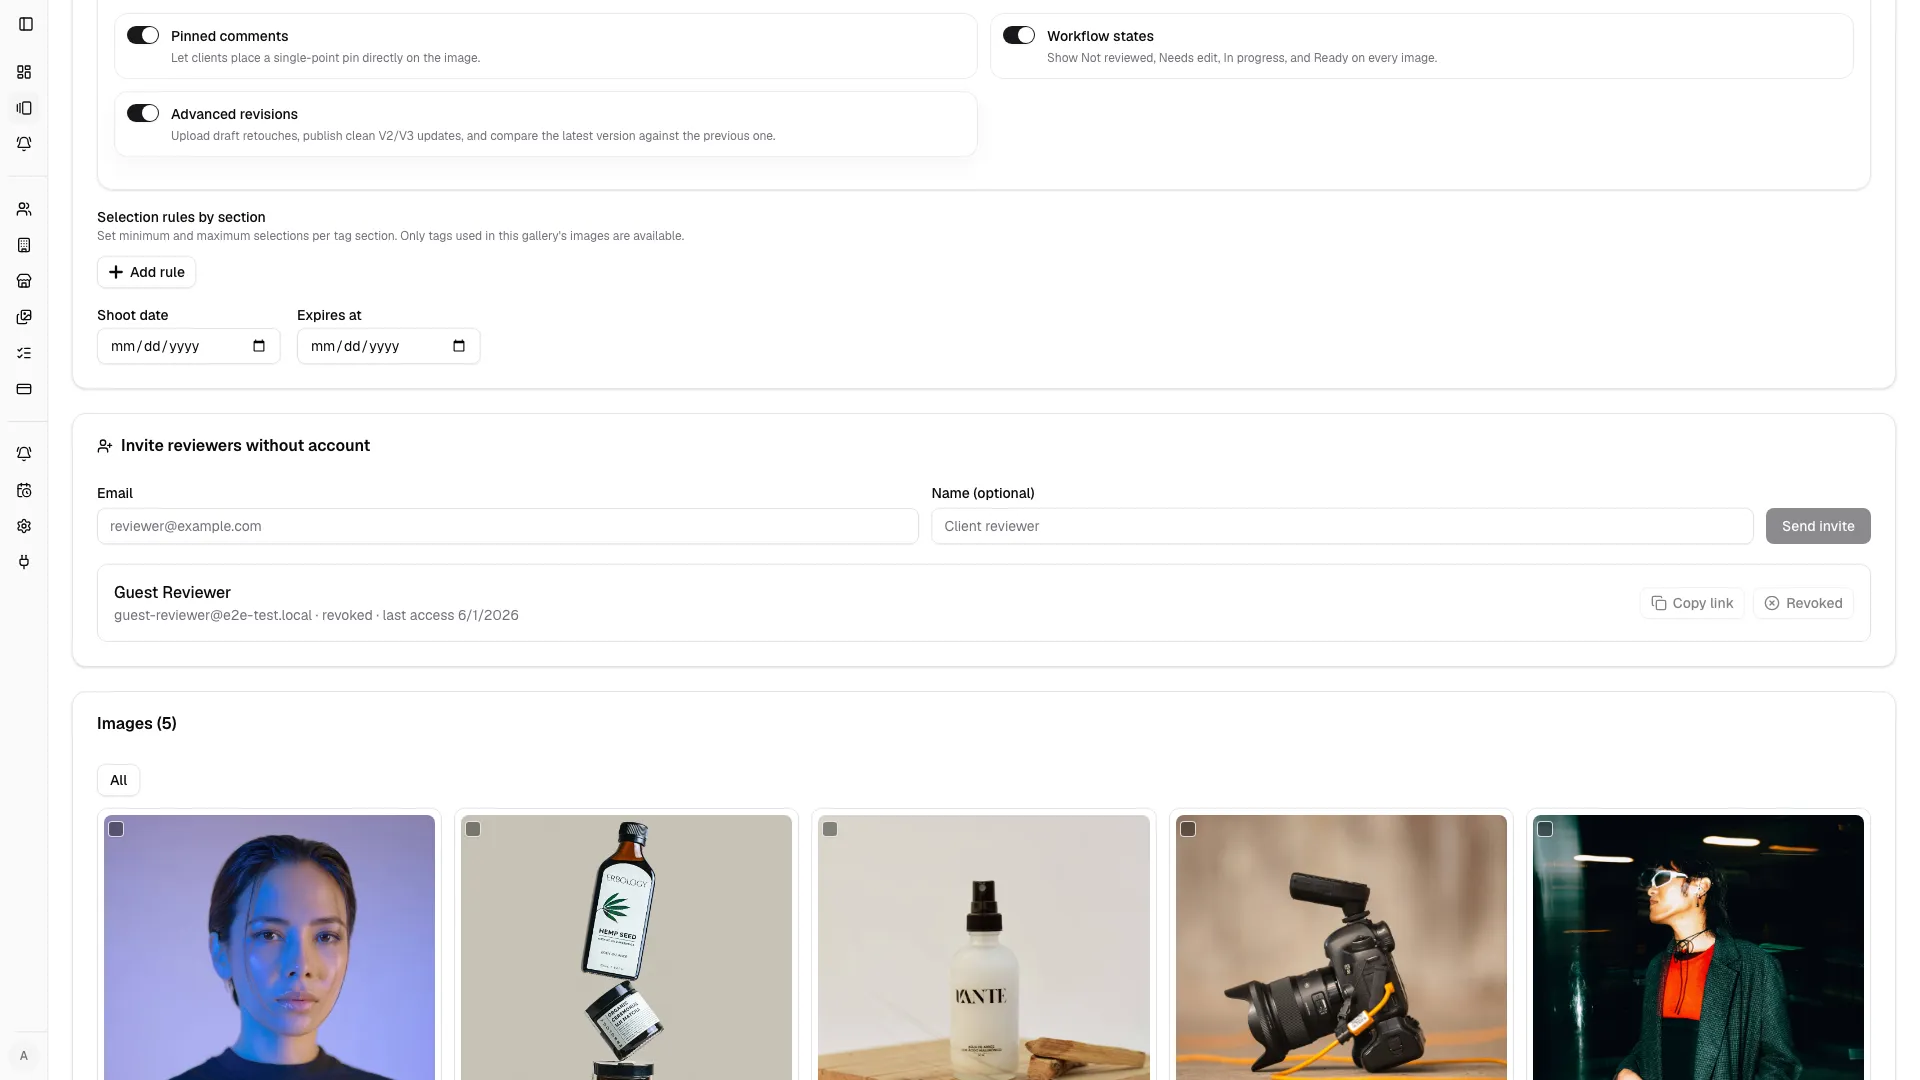
Checklist before inviting the client
Section titled “Checklist before inviting the client”- Title, client, and slug are correct.
- Status matches the current phase.
- Previews are uploaded and visible.
- Selection limits are clear.
- Deadline is set.
- Sections are understandable.
- Advanced review is enabled only if needed.
- Client view has been checked.
- Reminders and notifications match the job.